This route is the product of a my recent podcast Ep. 71 with Ryan Stoyer. When I reached out to him to see if he’d be interested in coming on the podcast he was quick to say yes, but he had one condition. He wanted to go bikerafting. Only one problem, I’d never been bikerafting and I didn’t have the raft or any of the skills needed to complete a trip like this, but I love a good adventure and any apprehension I had didn’t prevent me from immediately accepting the challenge.
The information provided here comes from a complete novice, so keep that in mind. I will share what I know, but please prepare accordingly before taking on this route. I will share about our trip and what I learned along the way, along with some additional resources for you to dive in more. Much of this is also covered in Ep. 71 – Ryan Stoyer, Bikerafting the Buffalo.
The Crew
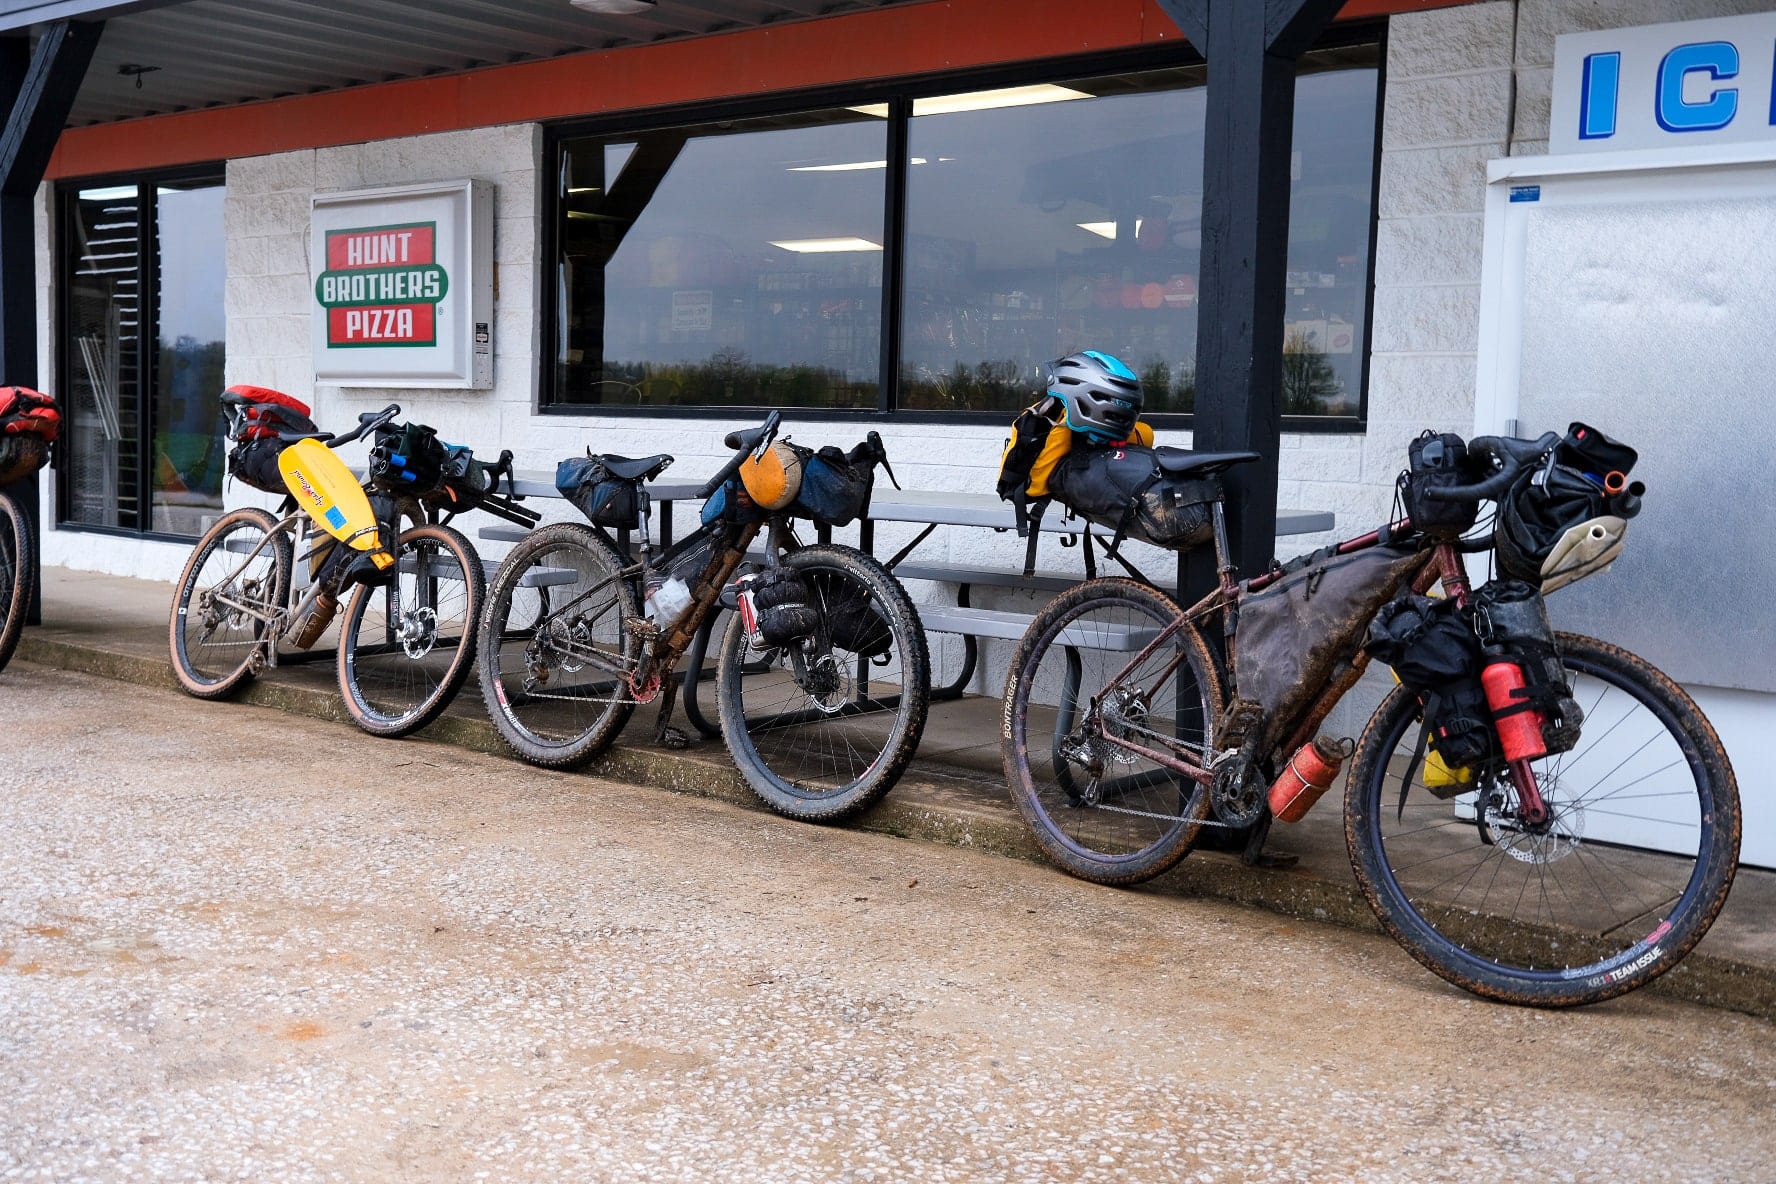
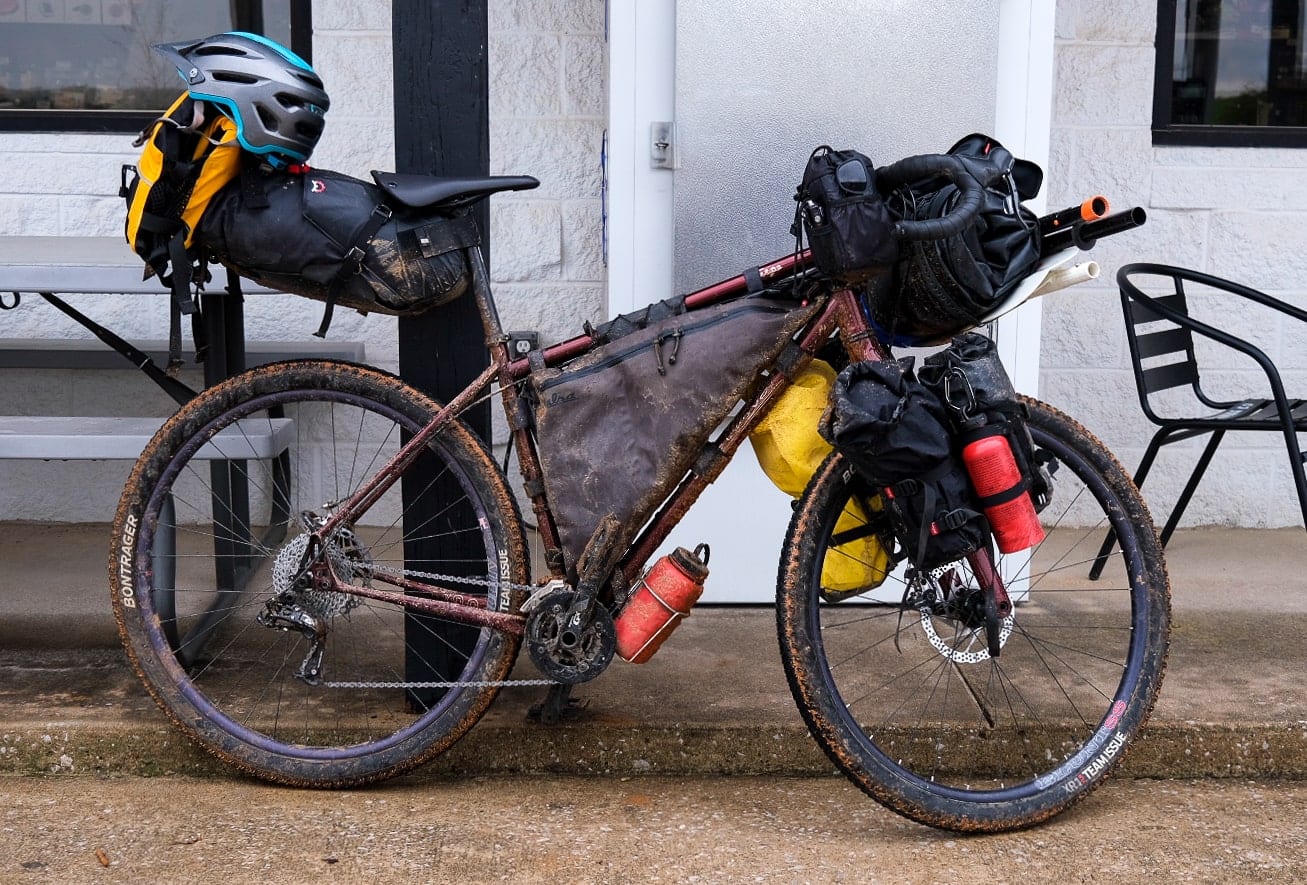
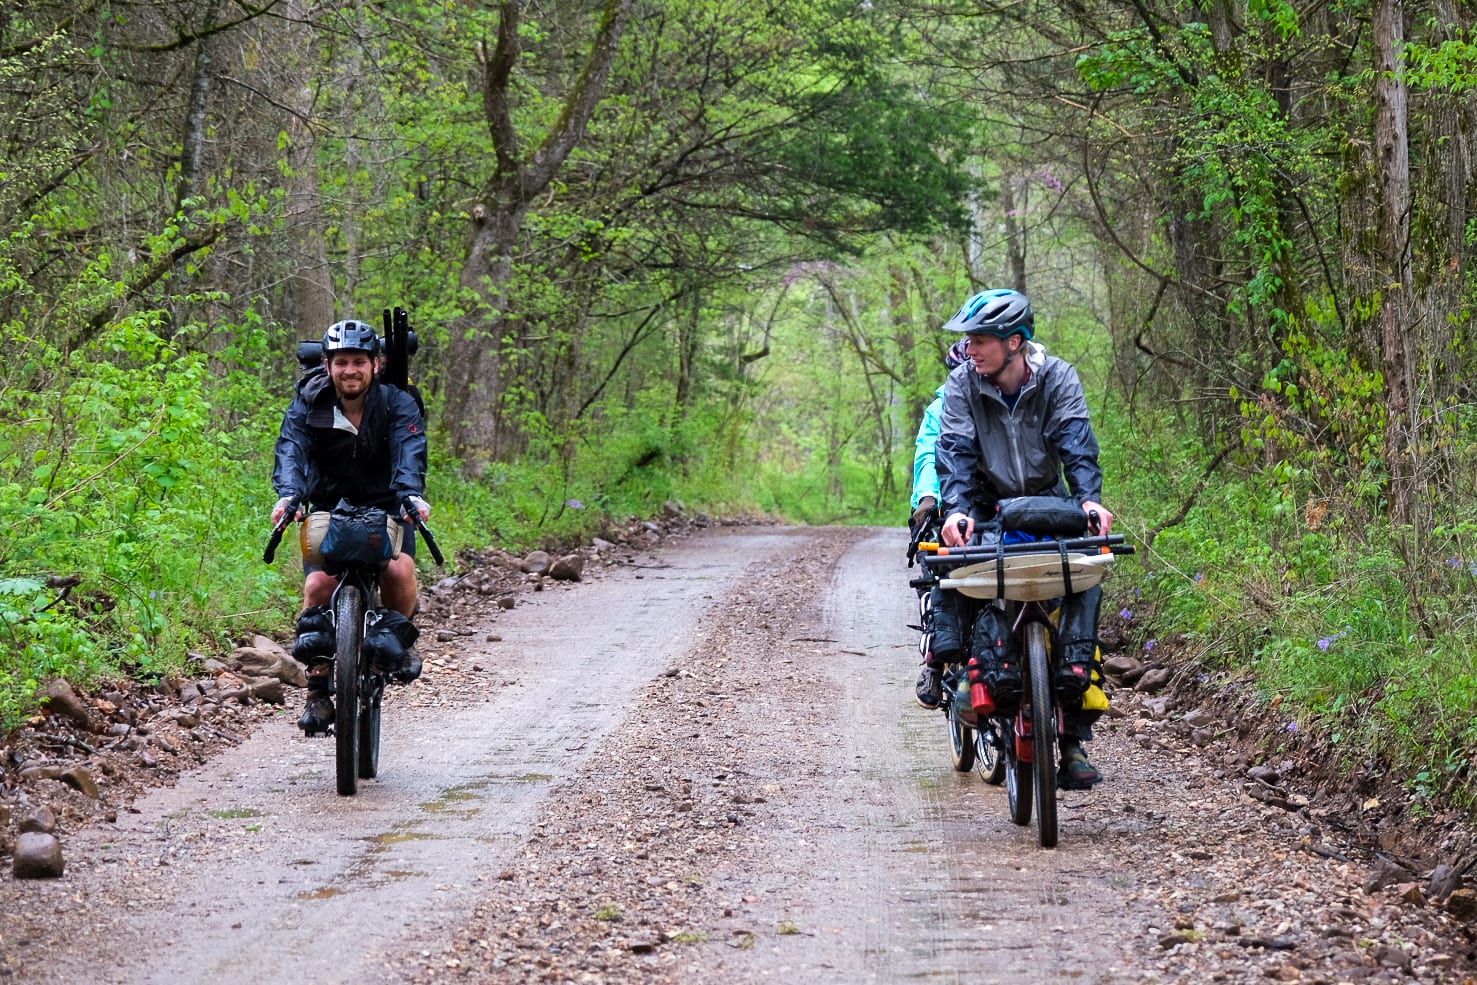
Bikerafting was Ryan’s idea. He got bit with the bug at the beginning of the pandemic and used it as a tool to isolate in remote places. He was the only one on the trip with any packrafting experience. The rest of the crew, Sarah Harris, Connor Thomas, and myself, had never been packrafting, but we all had experience kayaking. So that’s us, a quartet of adventurers with a smattering of experience and just enough threshold for uncertainty. Now all we need is a route, some packrafts, and some rain!

A Route
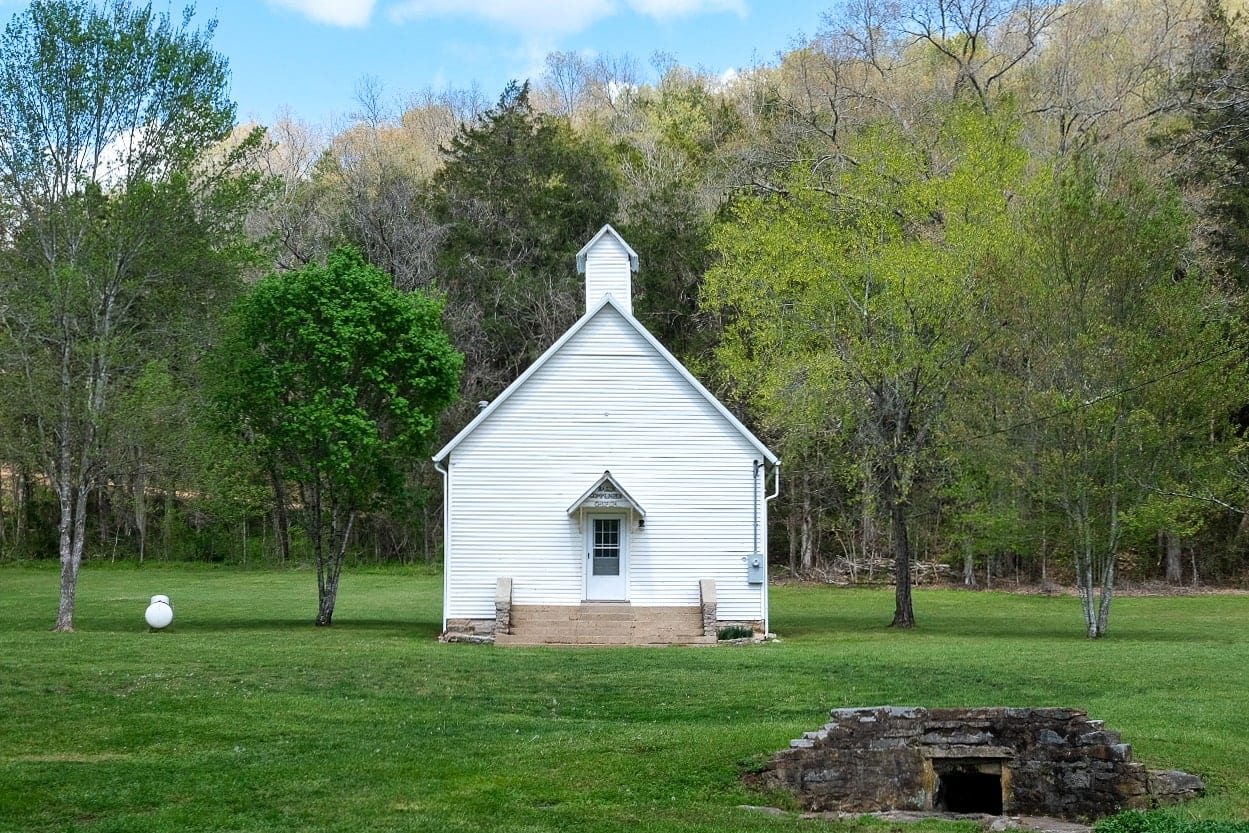
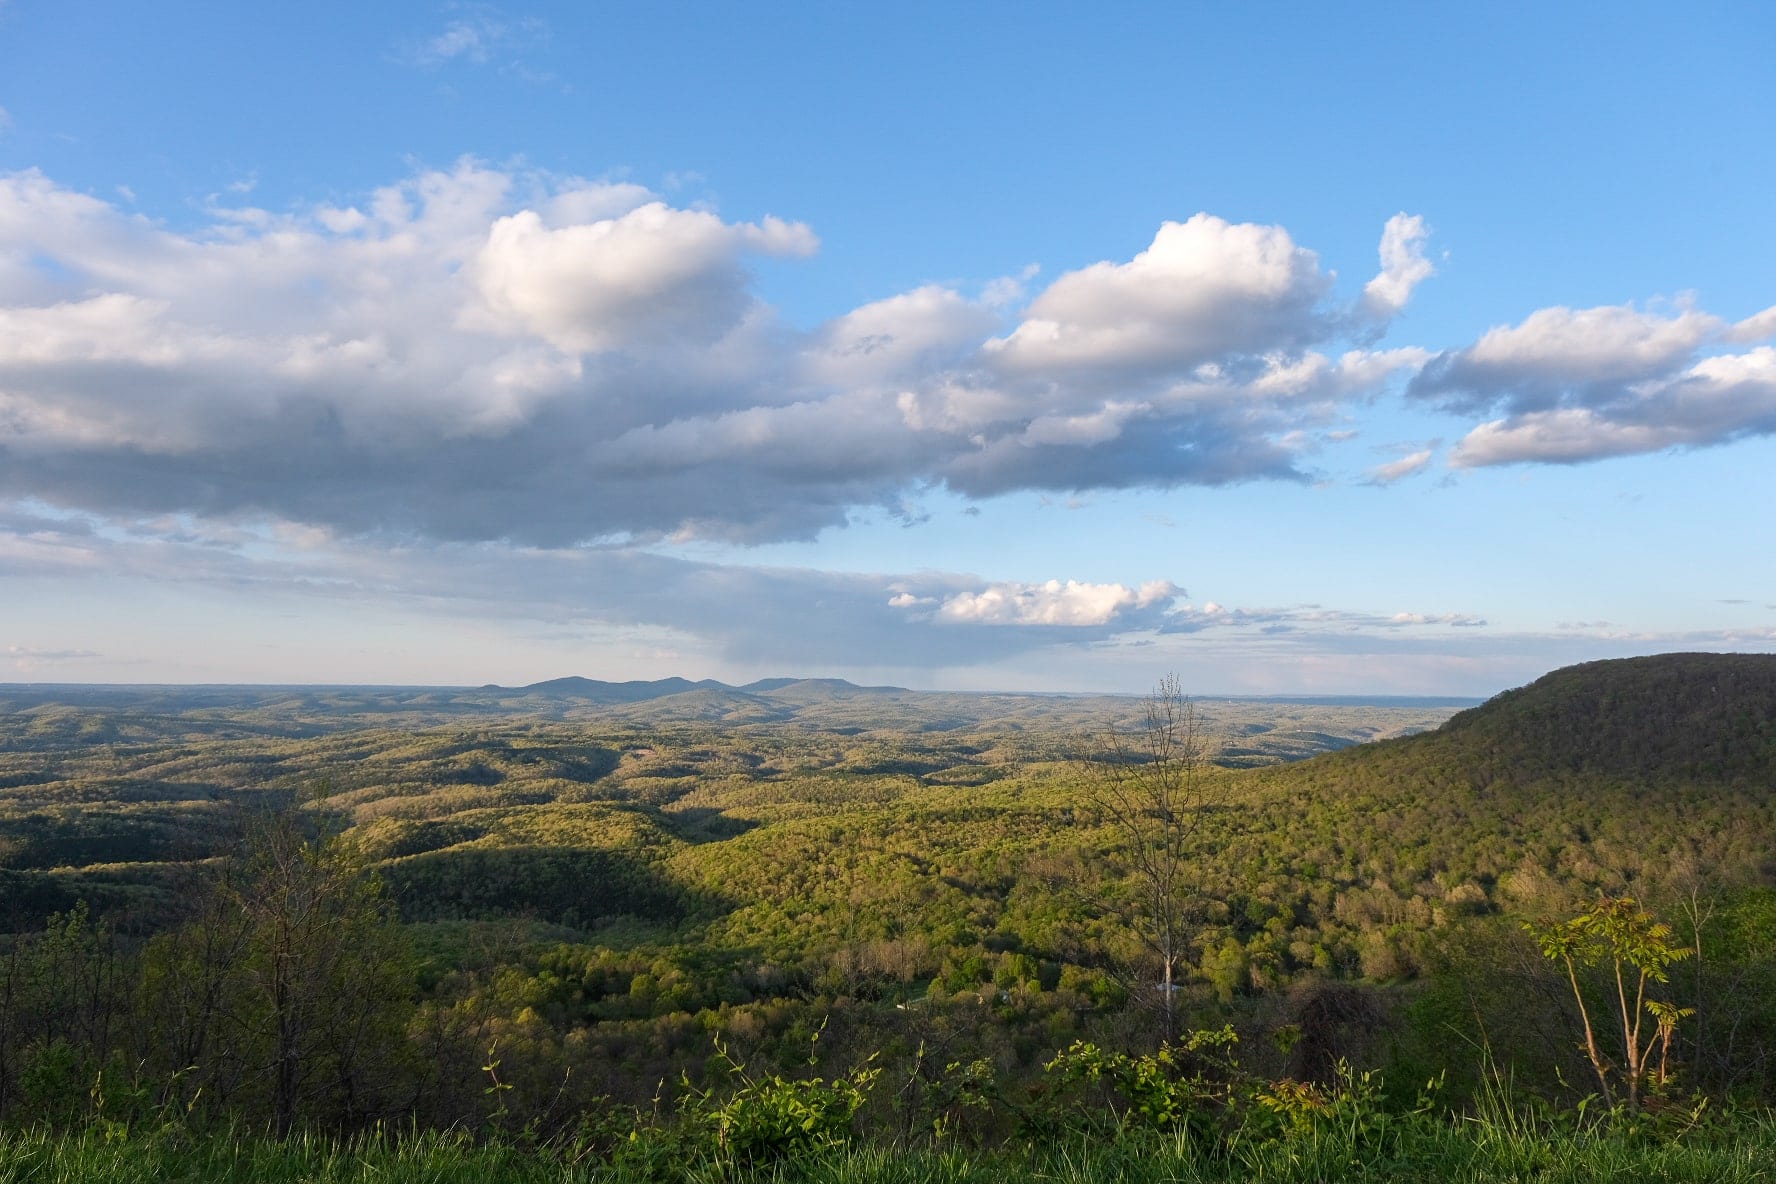
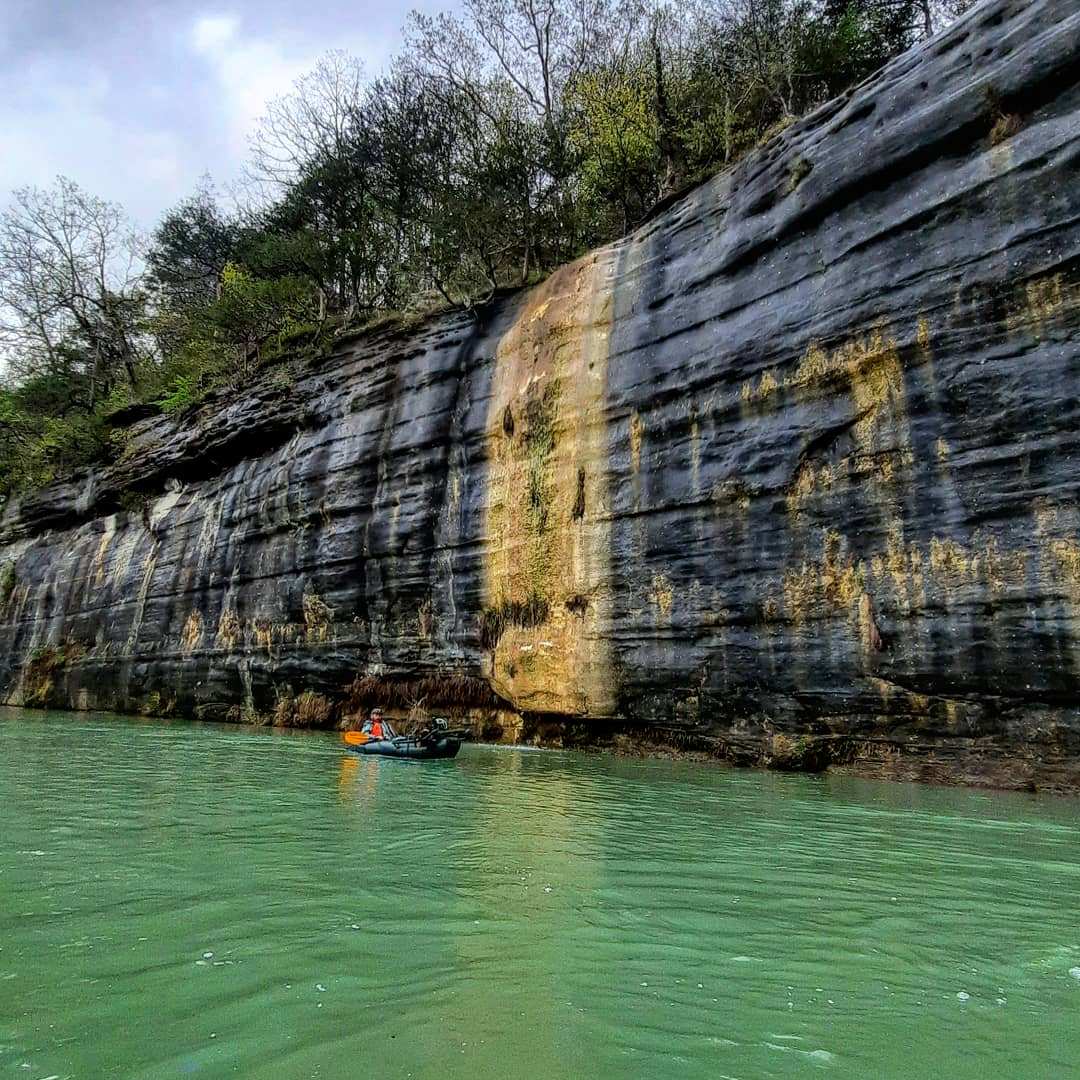
First things first, we needed a route! When bikerafting the water is going to be the crux of the trip. Water levels, water flow, and rapids should all be considered when creating a route. I’ve been wanting to do a river trip on the Buffalo National River for years now and NW Arkansas was almost exactly equal distance between Ryan and I. So we had our destination, now it’s just a matter of finding a section with the right water levels and conditions for us to paddle. USGS: National Water Information System is your friend here. Once you identify a section it may be a good idea to contact a local river outfitter to get some local beta on the section of river you are considering. For our trip we had two routes planned. The water levels were looking low for our preferred route, so we had a backup. If you listened to the episode you’ll know that it rained on us the whole time, so while it was uncomfortable it did bring water levels up enough to do our preferred route!
Packrafts
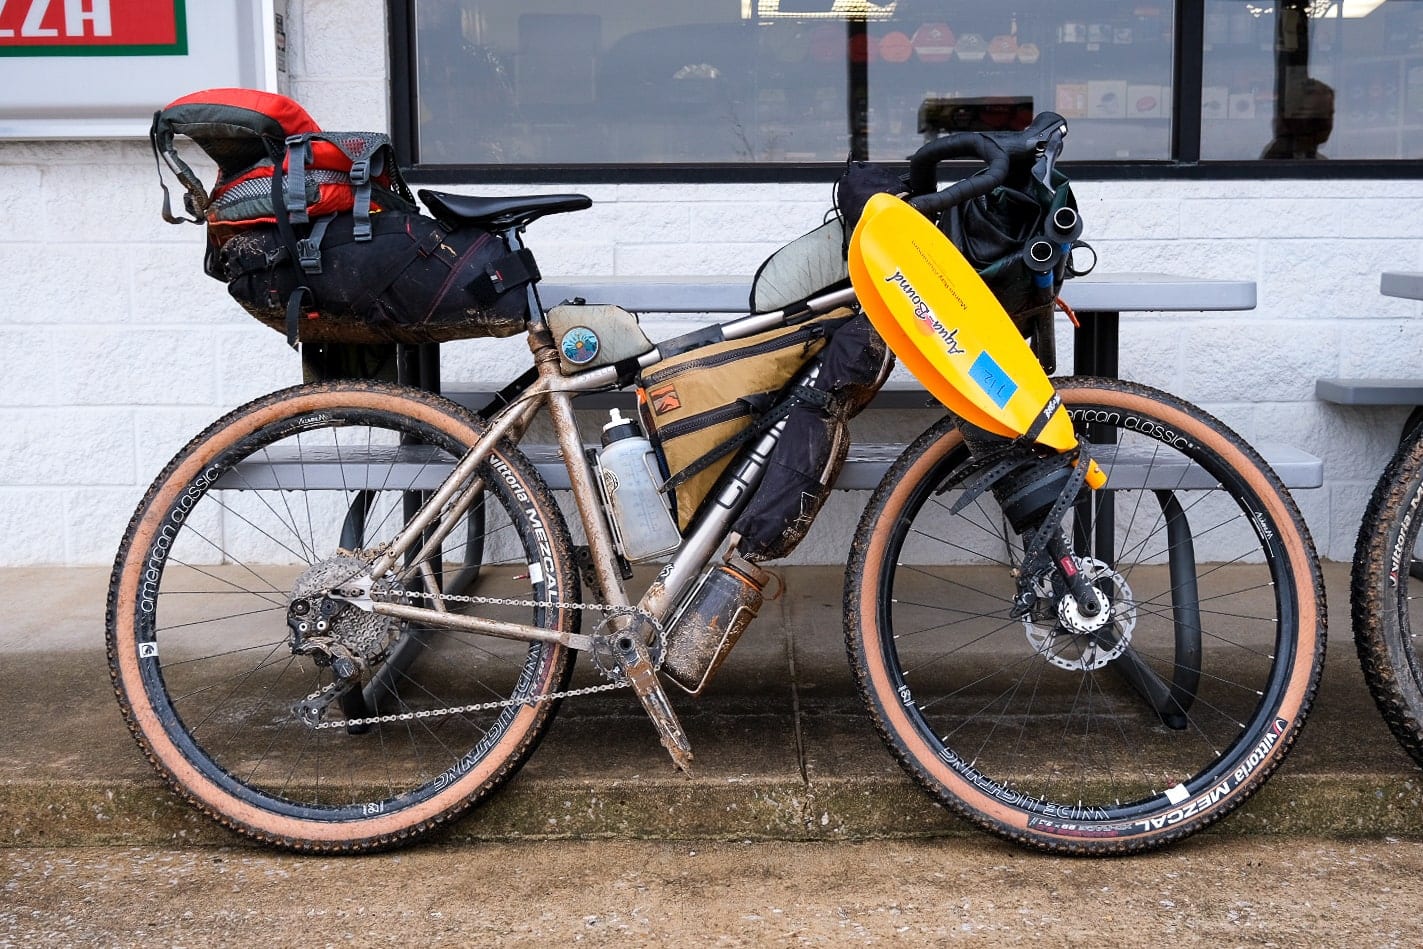
Our fearless quartet assembled, a bikerafting route created, now all we needed was packrafts. I learned quickly that packrafts are pricey and in high demand. I narrowed my focus on Backcountry Packraft Rentals. I wanted to try it before investing $1,000+ on a new packraft. This turned out to be a great option for me. They have a huge inventory of packrafts and all the accessories and gear you need to complete your trip. And Patrons of Bikes or Death recieve an additional 15% off their order! Here are some other options for sourcing packrafts:
Backcountry Pack Rafts – 15% off for Patrons of this show
Alpacka Rafts
Kokopelli Rafts
DIY Packrafts – Connor purchased one of their rafts for this trip, but his iron broke and he wasn’t able to finish in time. I’m going to circle back around once he’s done and we can share more about his experience.
Packraft – Sell and Buy (facebook group) – Good source for used equipment
Four Corner Guides – This is a great option if you want to go with an experienced guide!
Tips and Tricks
- Packrafts handle better with weight on the front, they are designed this way intentionally.
- In my opinion a loaded down packraft handled better than a kayak. You can maneuver them much more easily because they are so light. So even if you do get in a little trouble it is usually easier to get out of it.
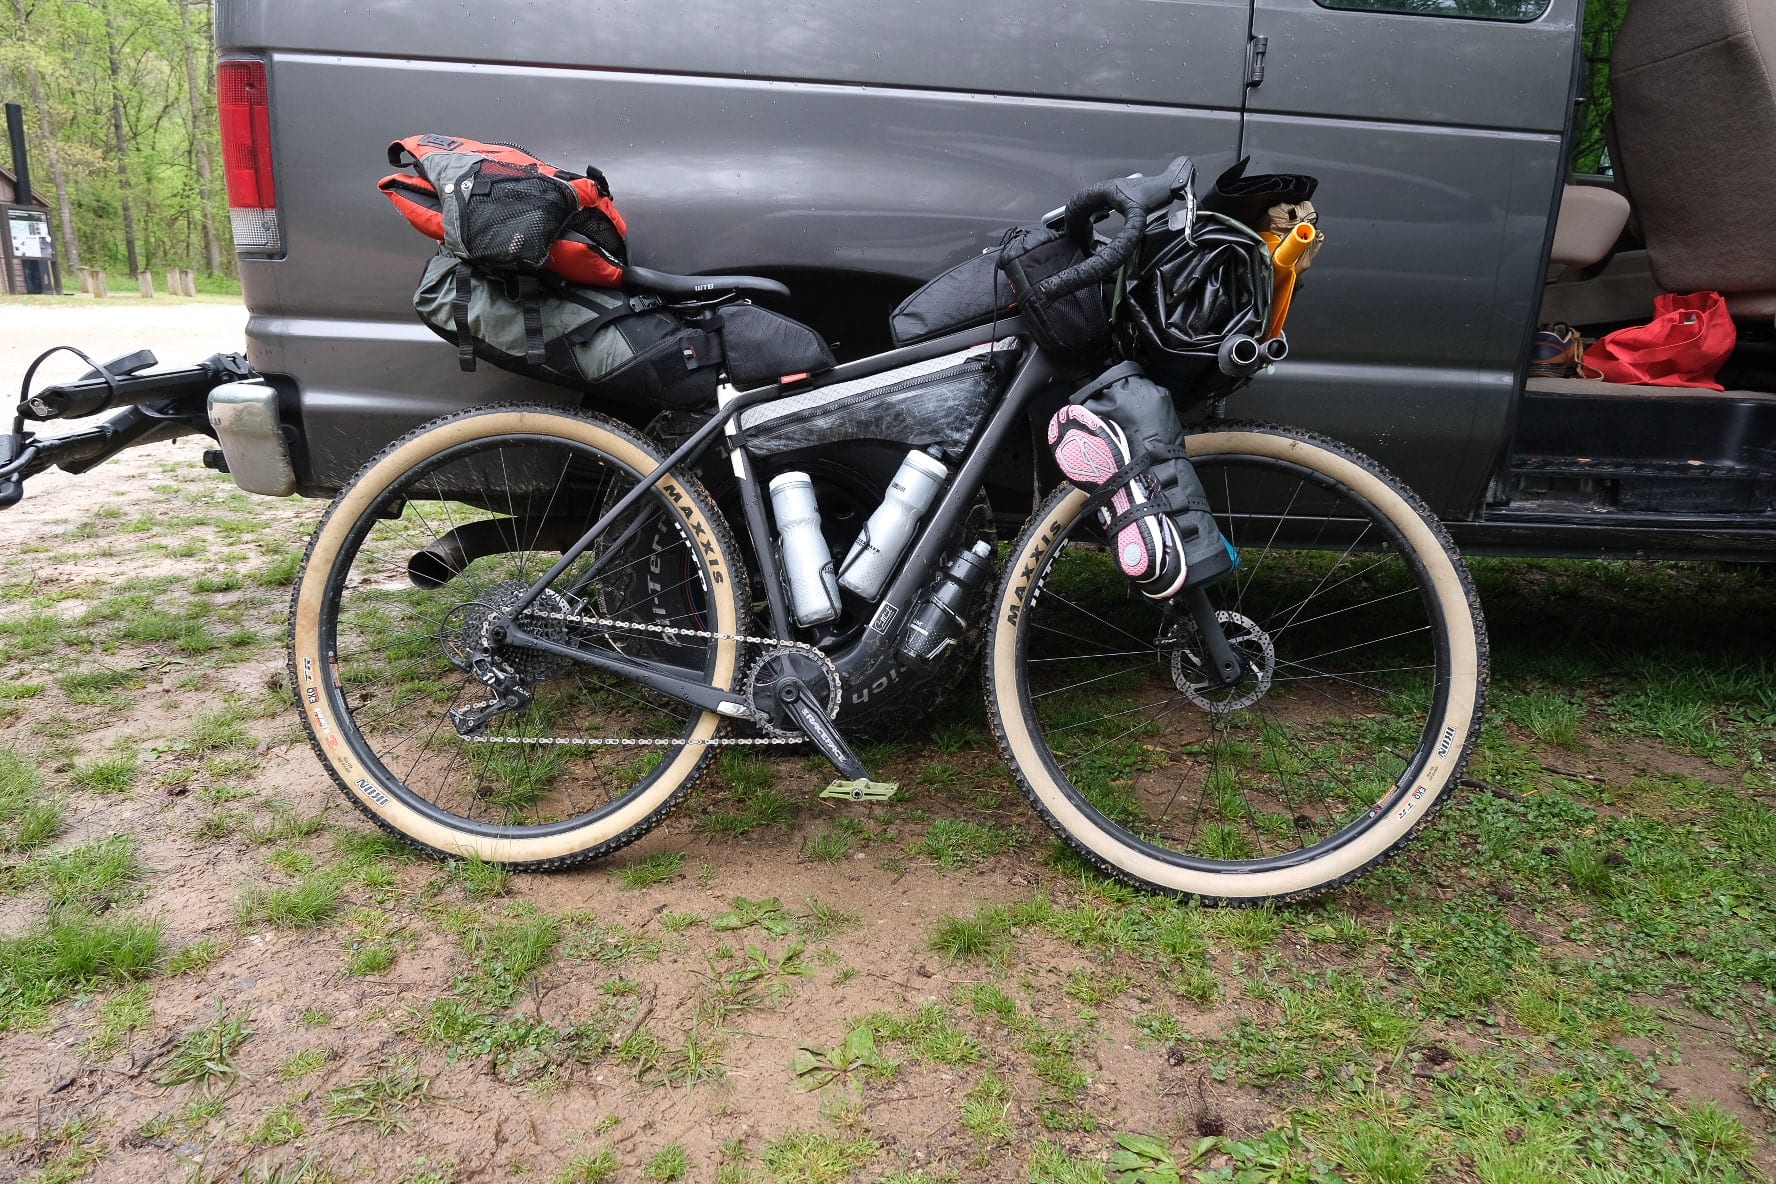
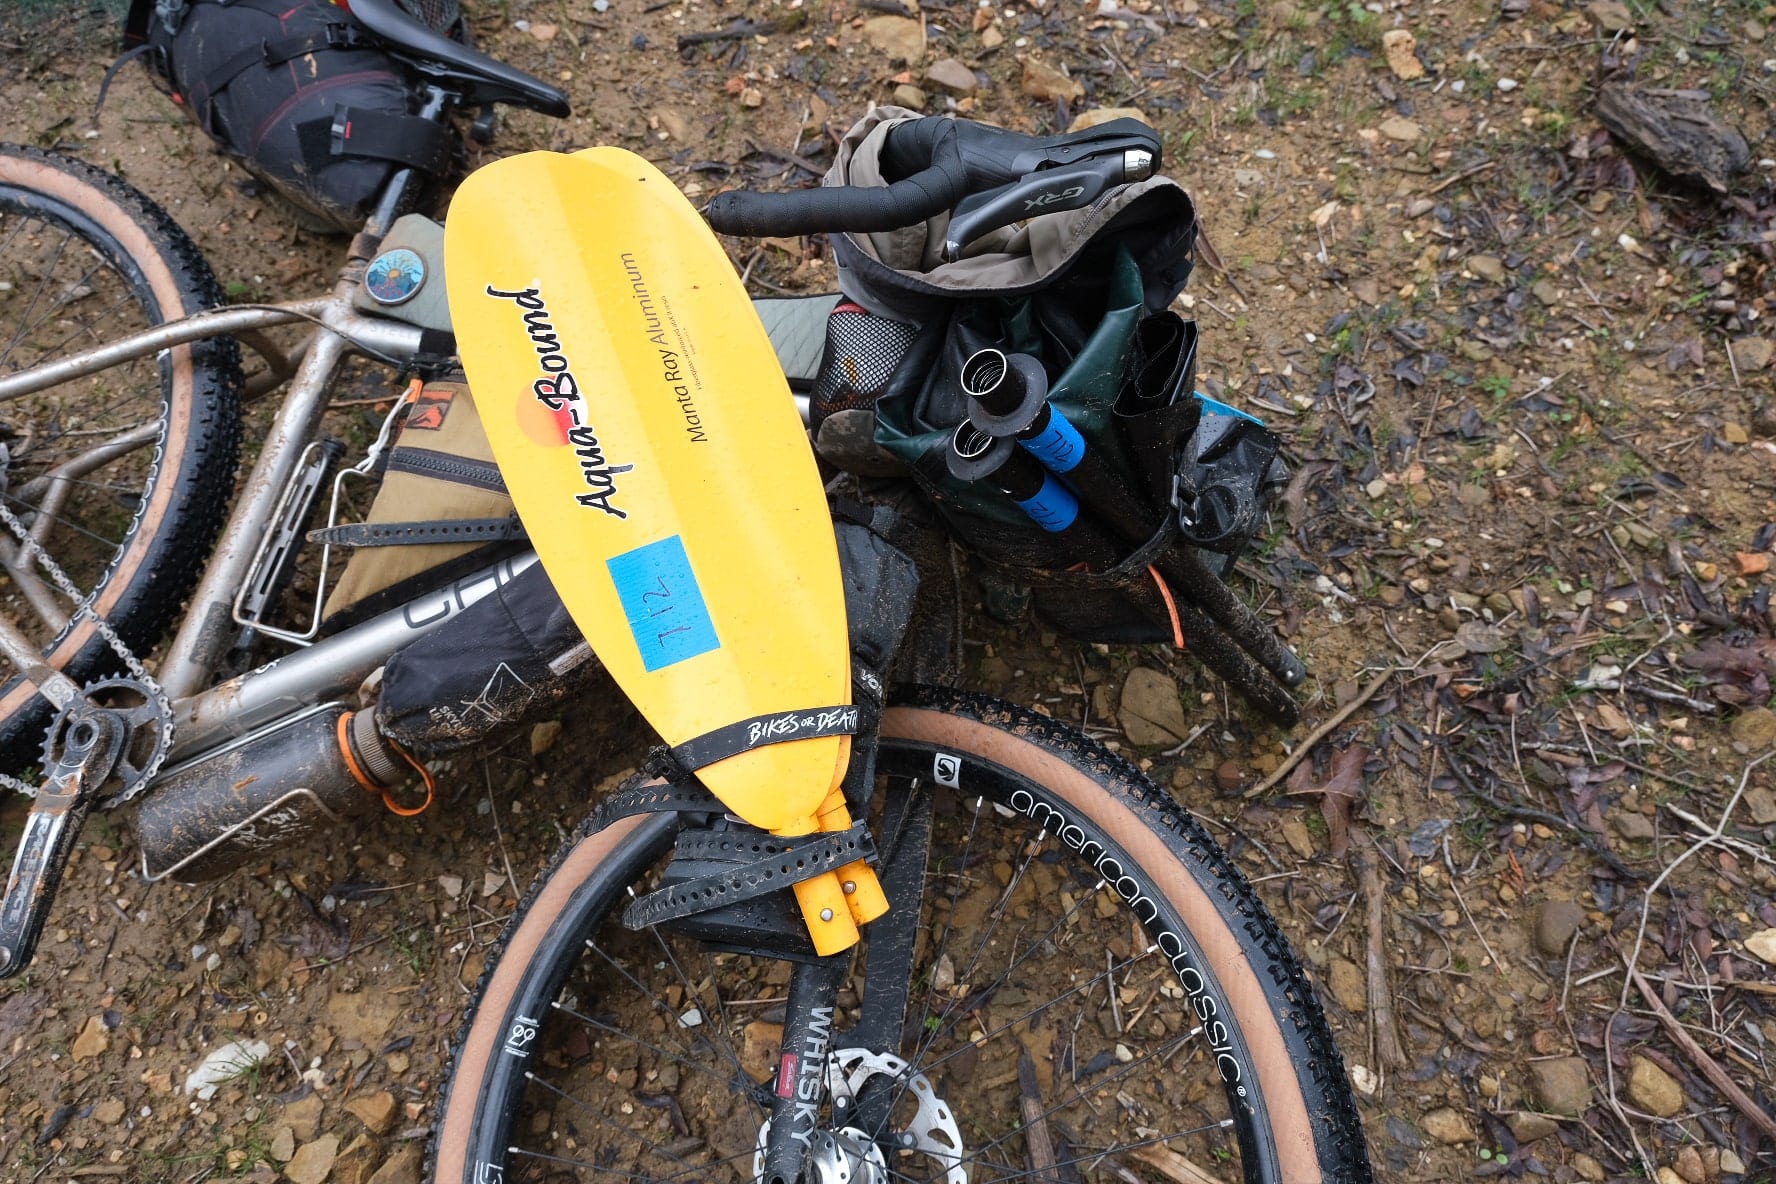
- Get a packraft with a T-Zip, this will allow you to store a lot of your gear inside the boat
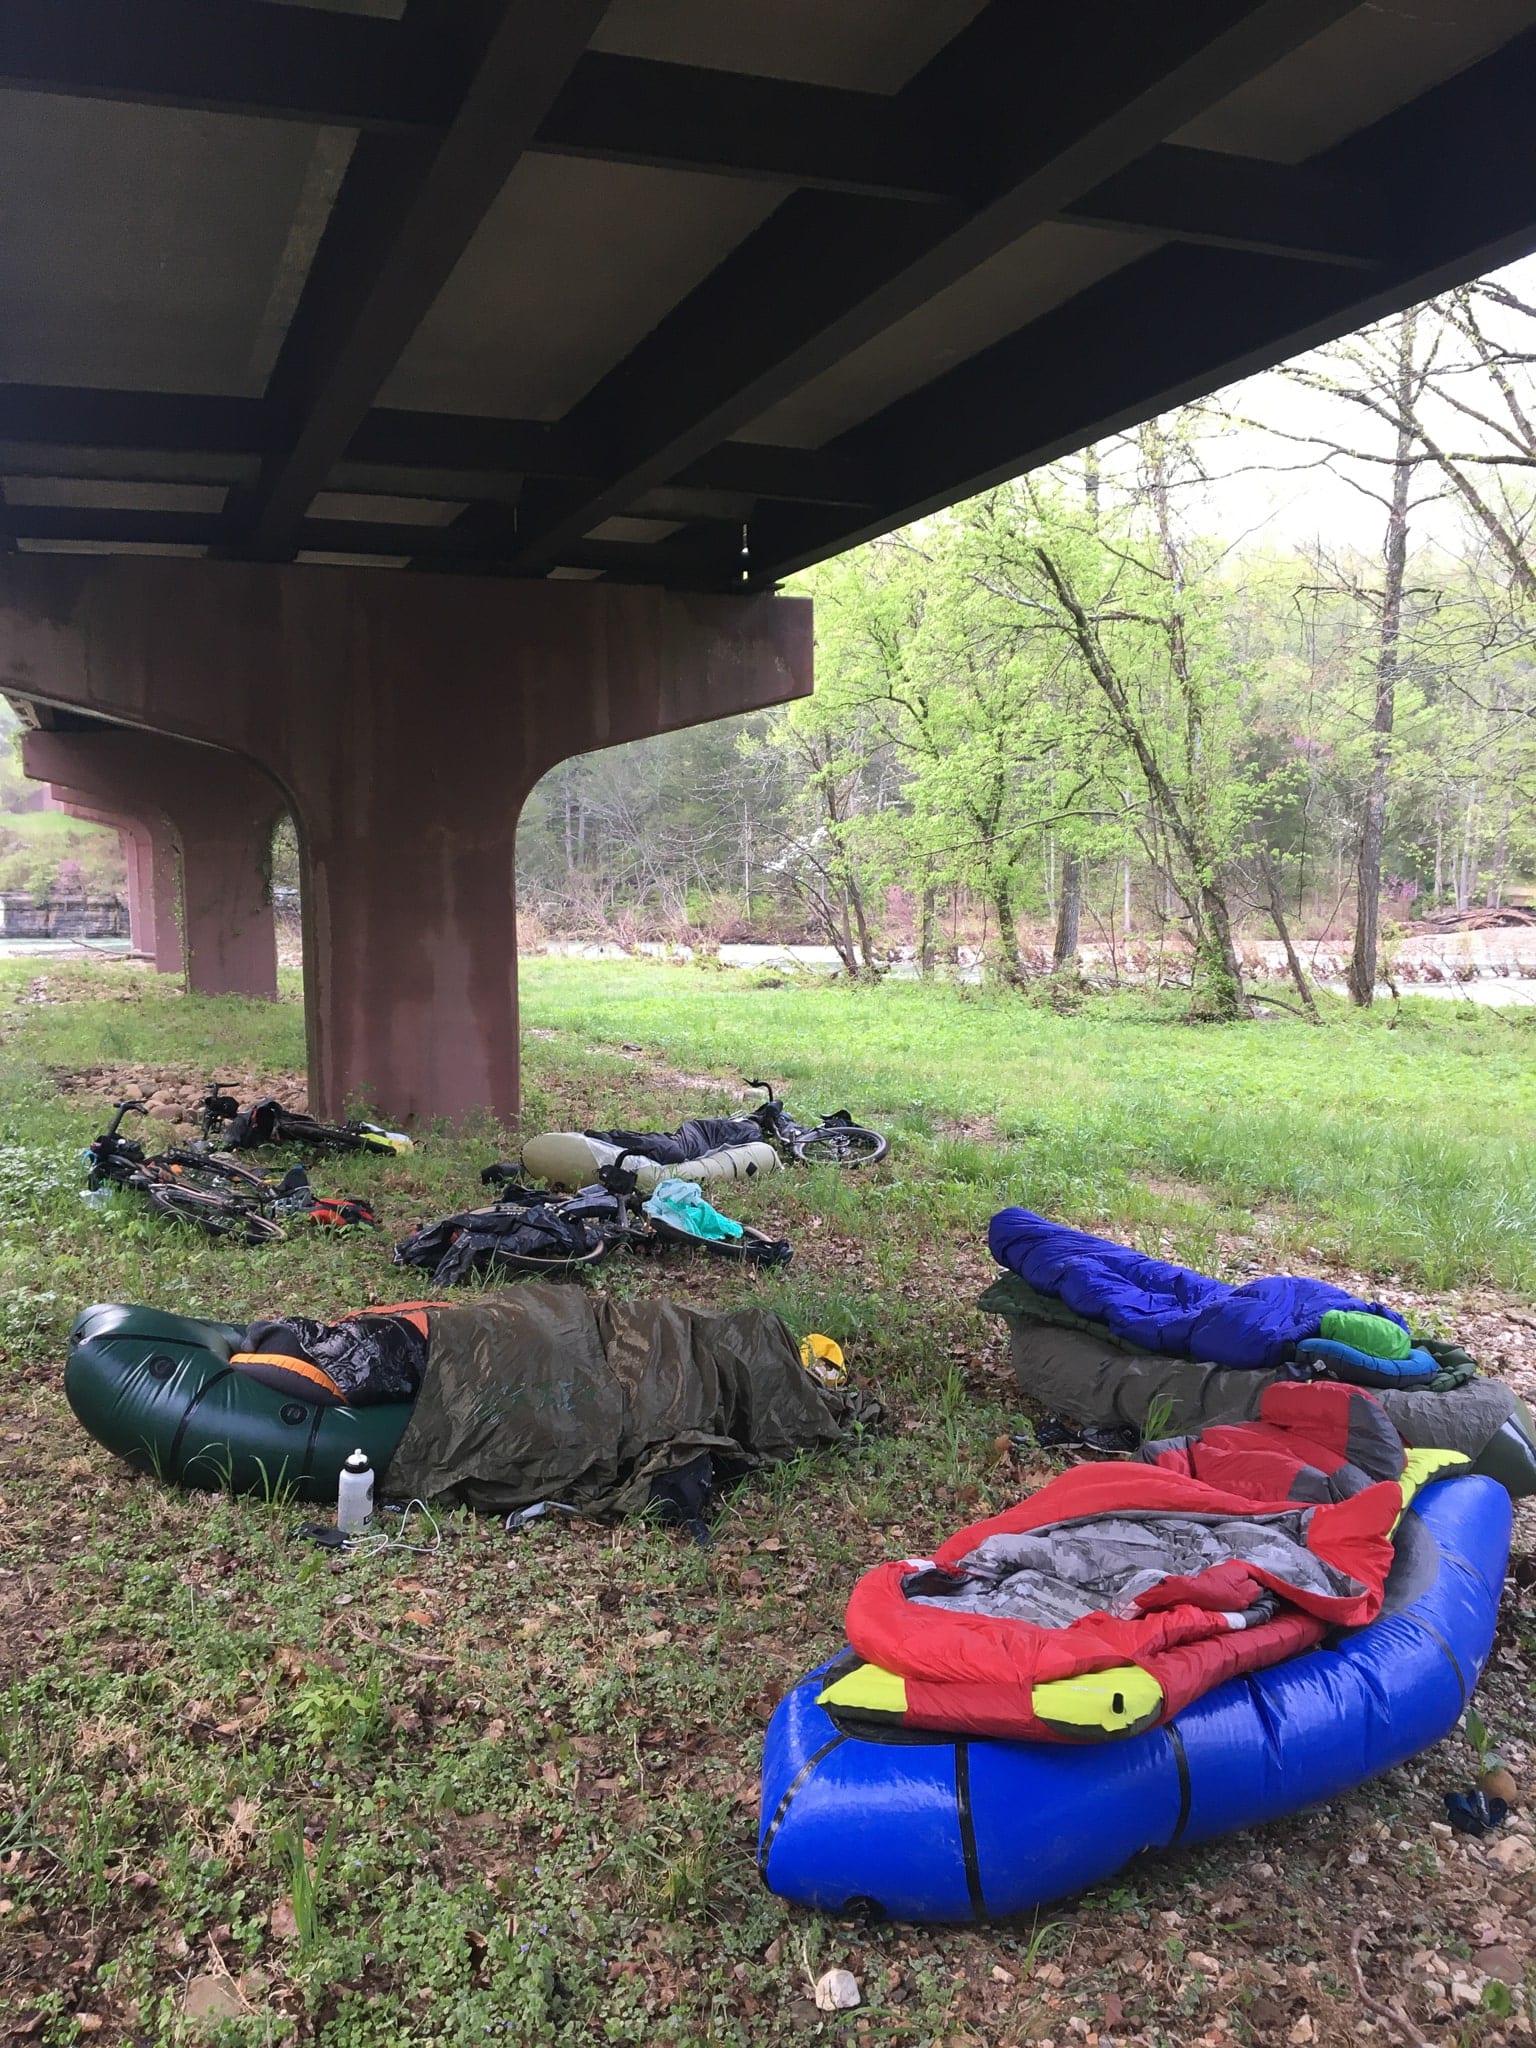
- Packrafts make excellent beds 🙂
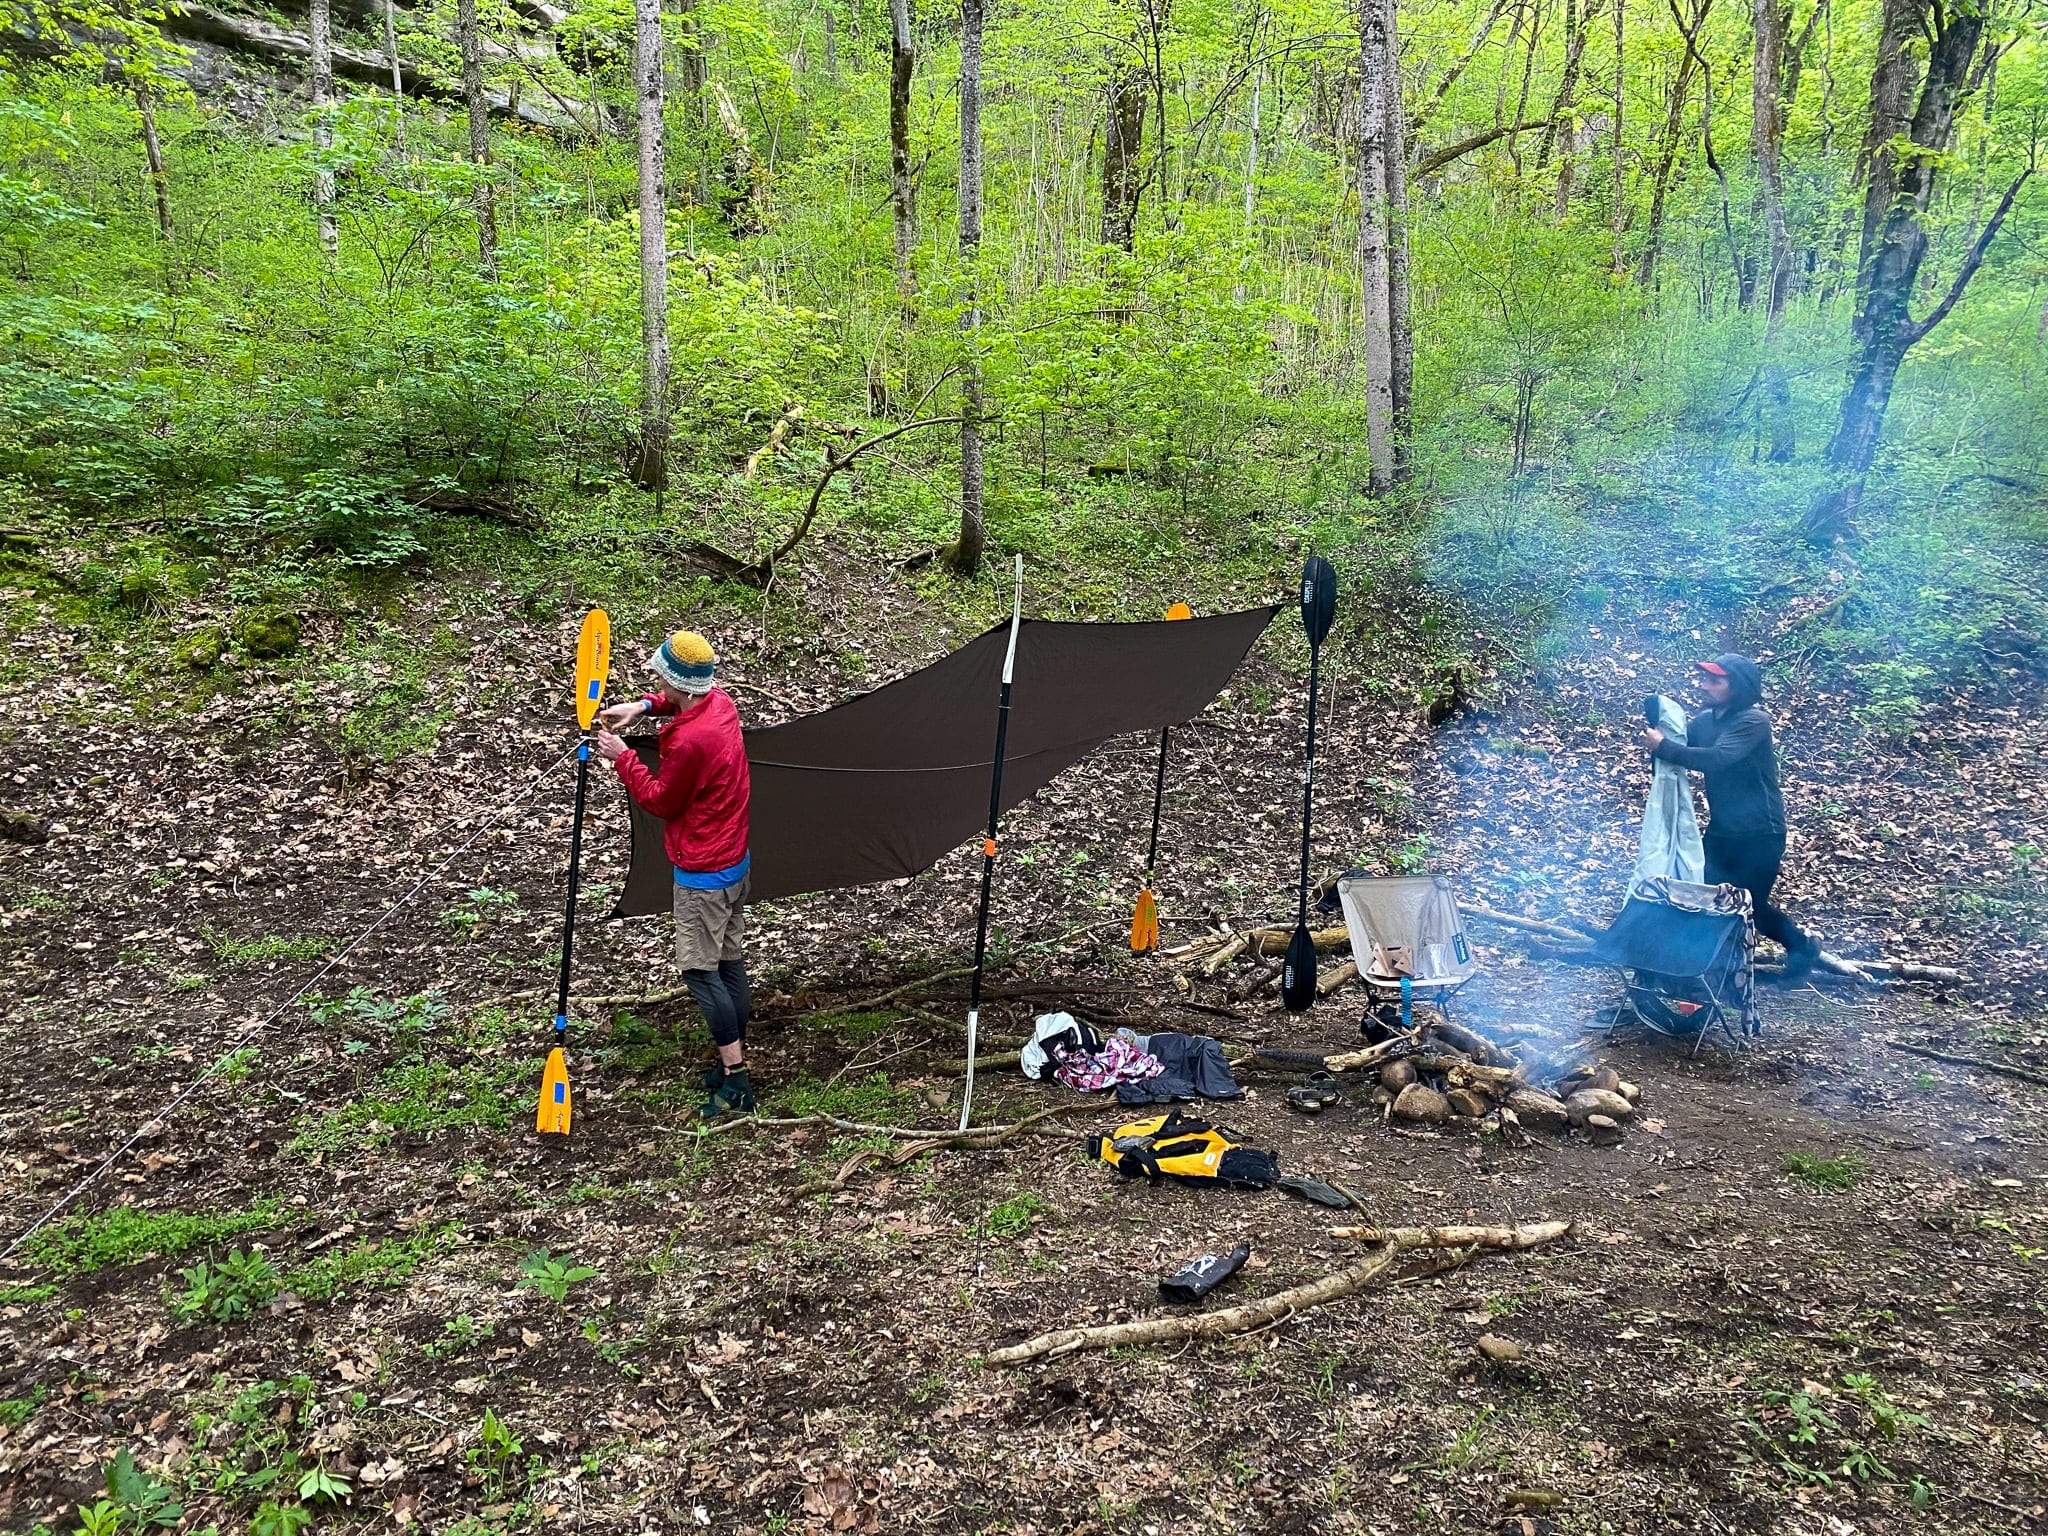
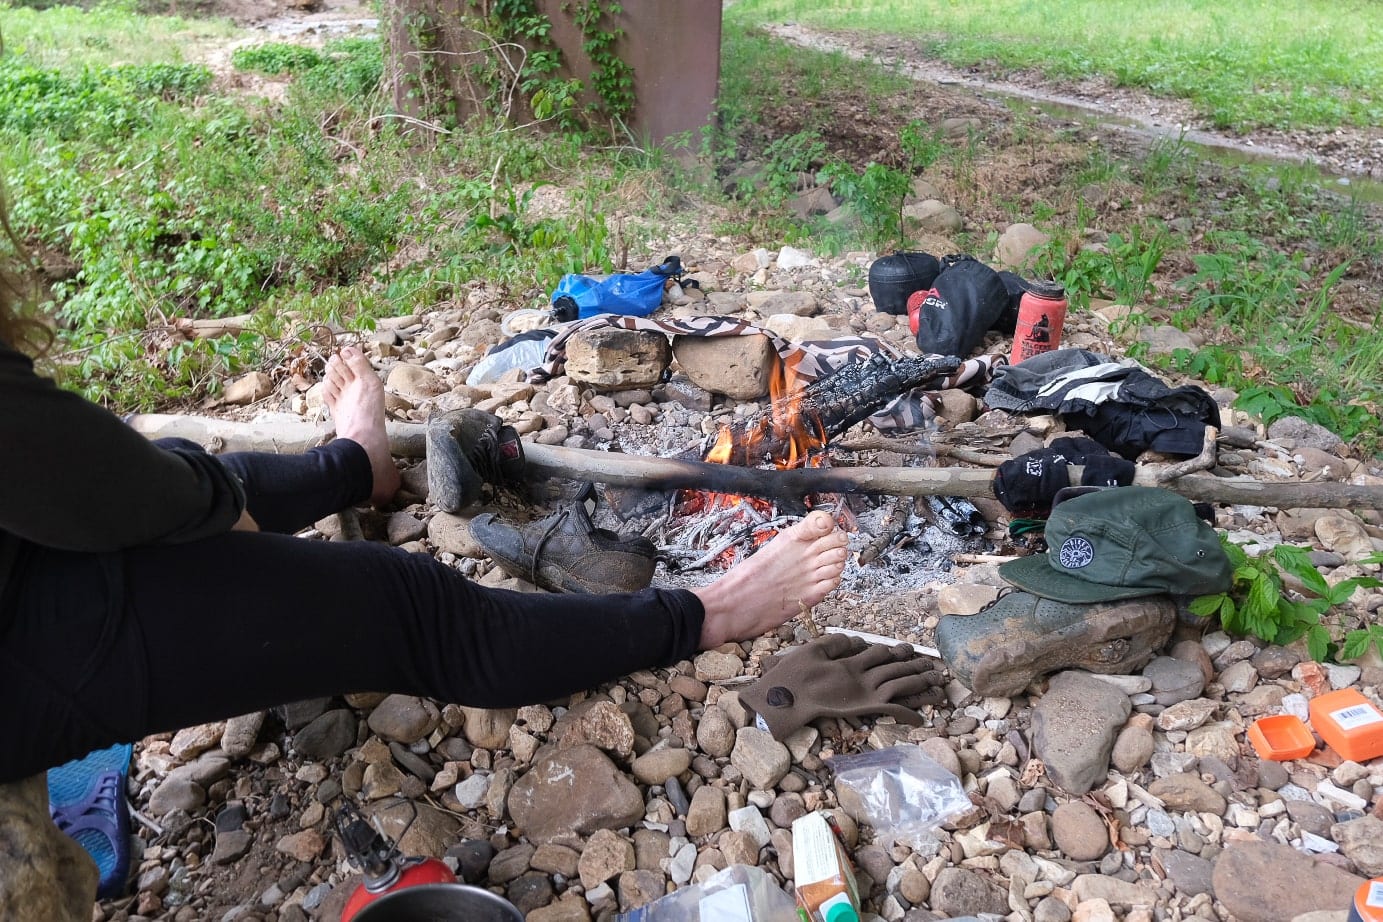
- Ryan’s electric pump came in handy for inflating the rafts and for getting a fire going with wet wood
- Voile Straps on your friend!
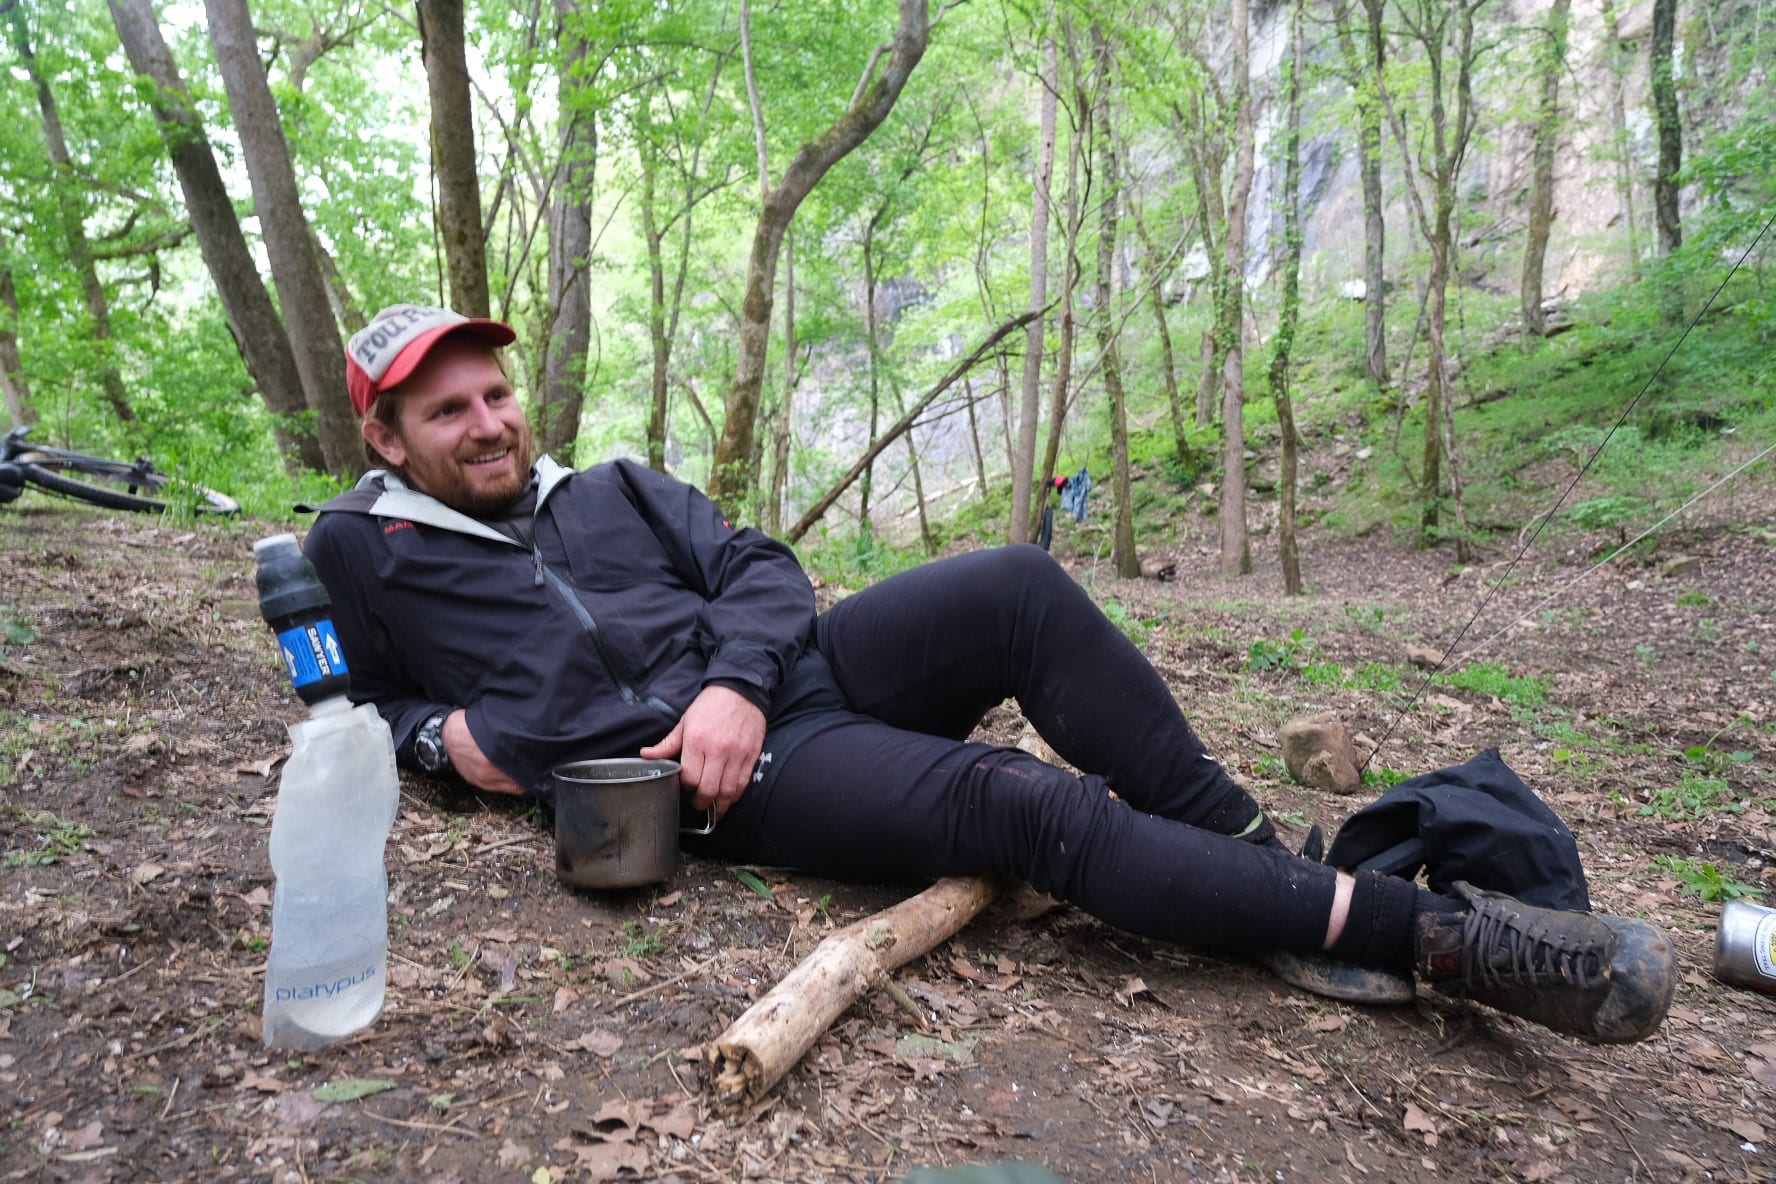
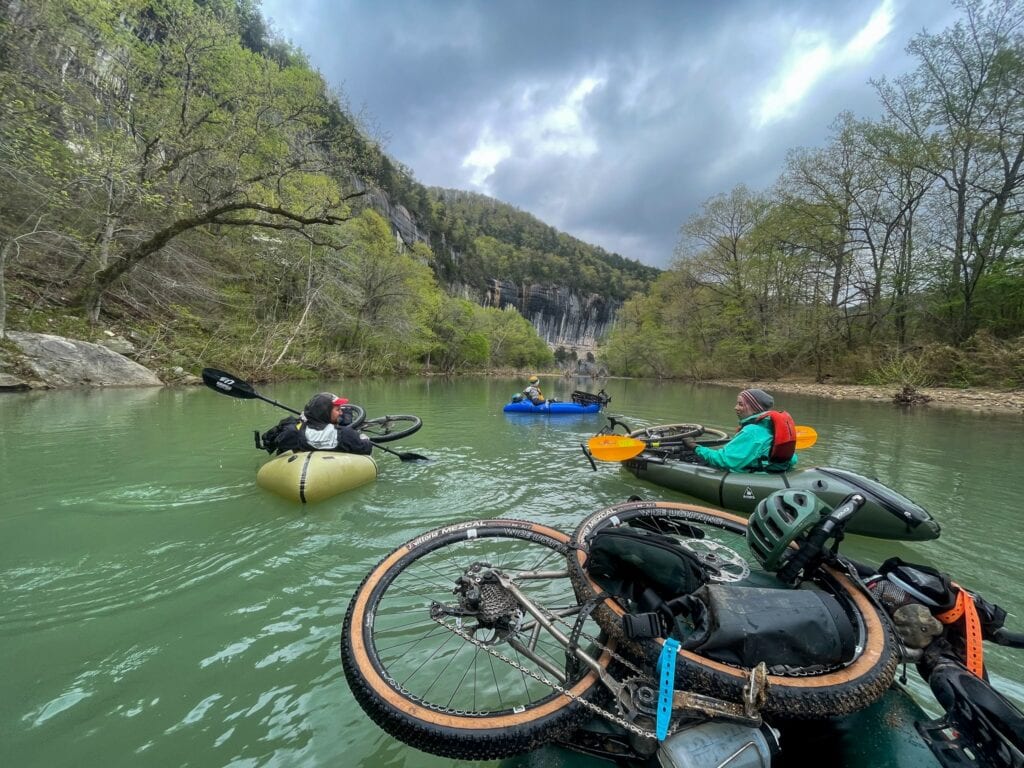
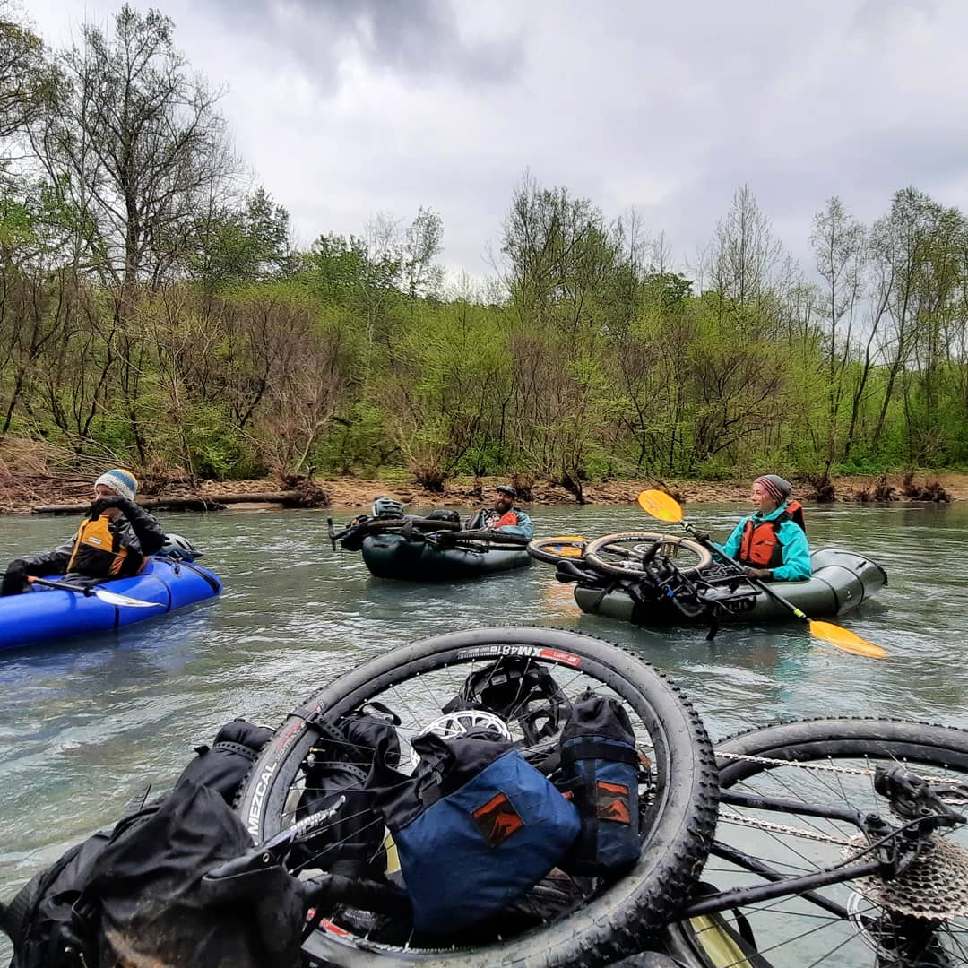
Our Bikerafting Trip
Being our first time planning a bikerafting route I honestly think we kinda nailed it. The weather could have been better, but the route was great! Mostly credit to Connor for his excellent route finding skills.
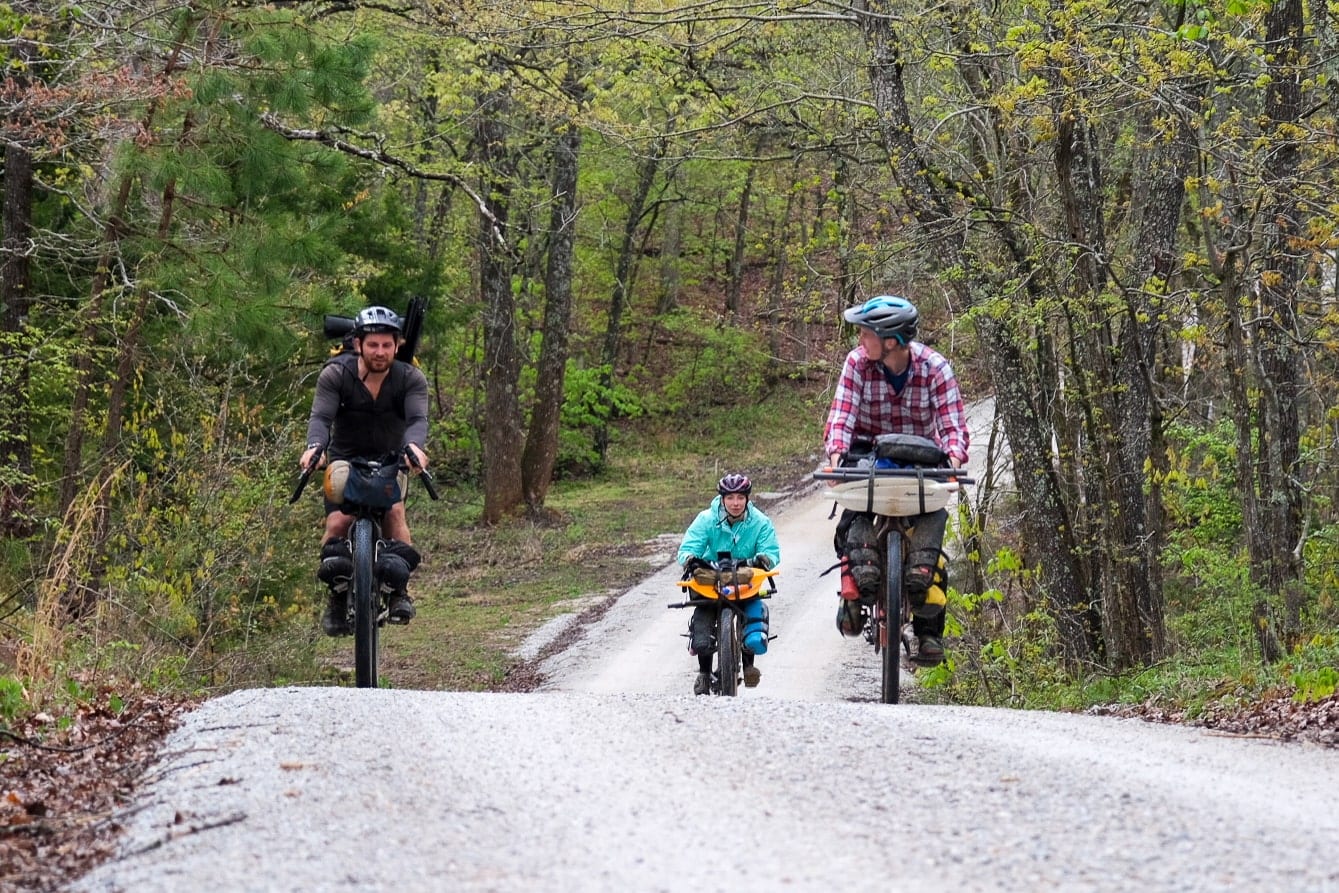
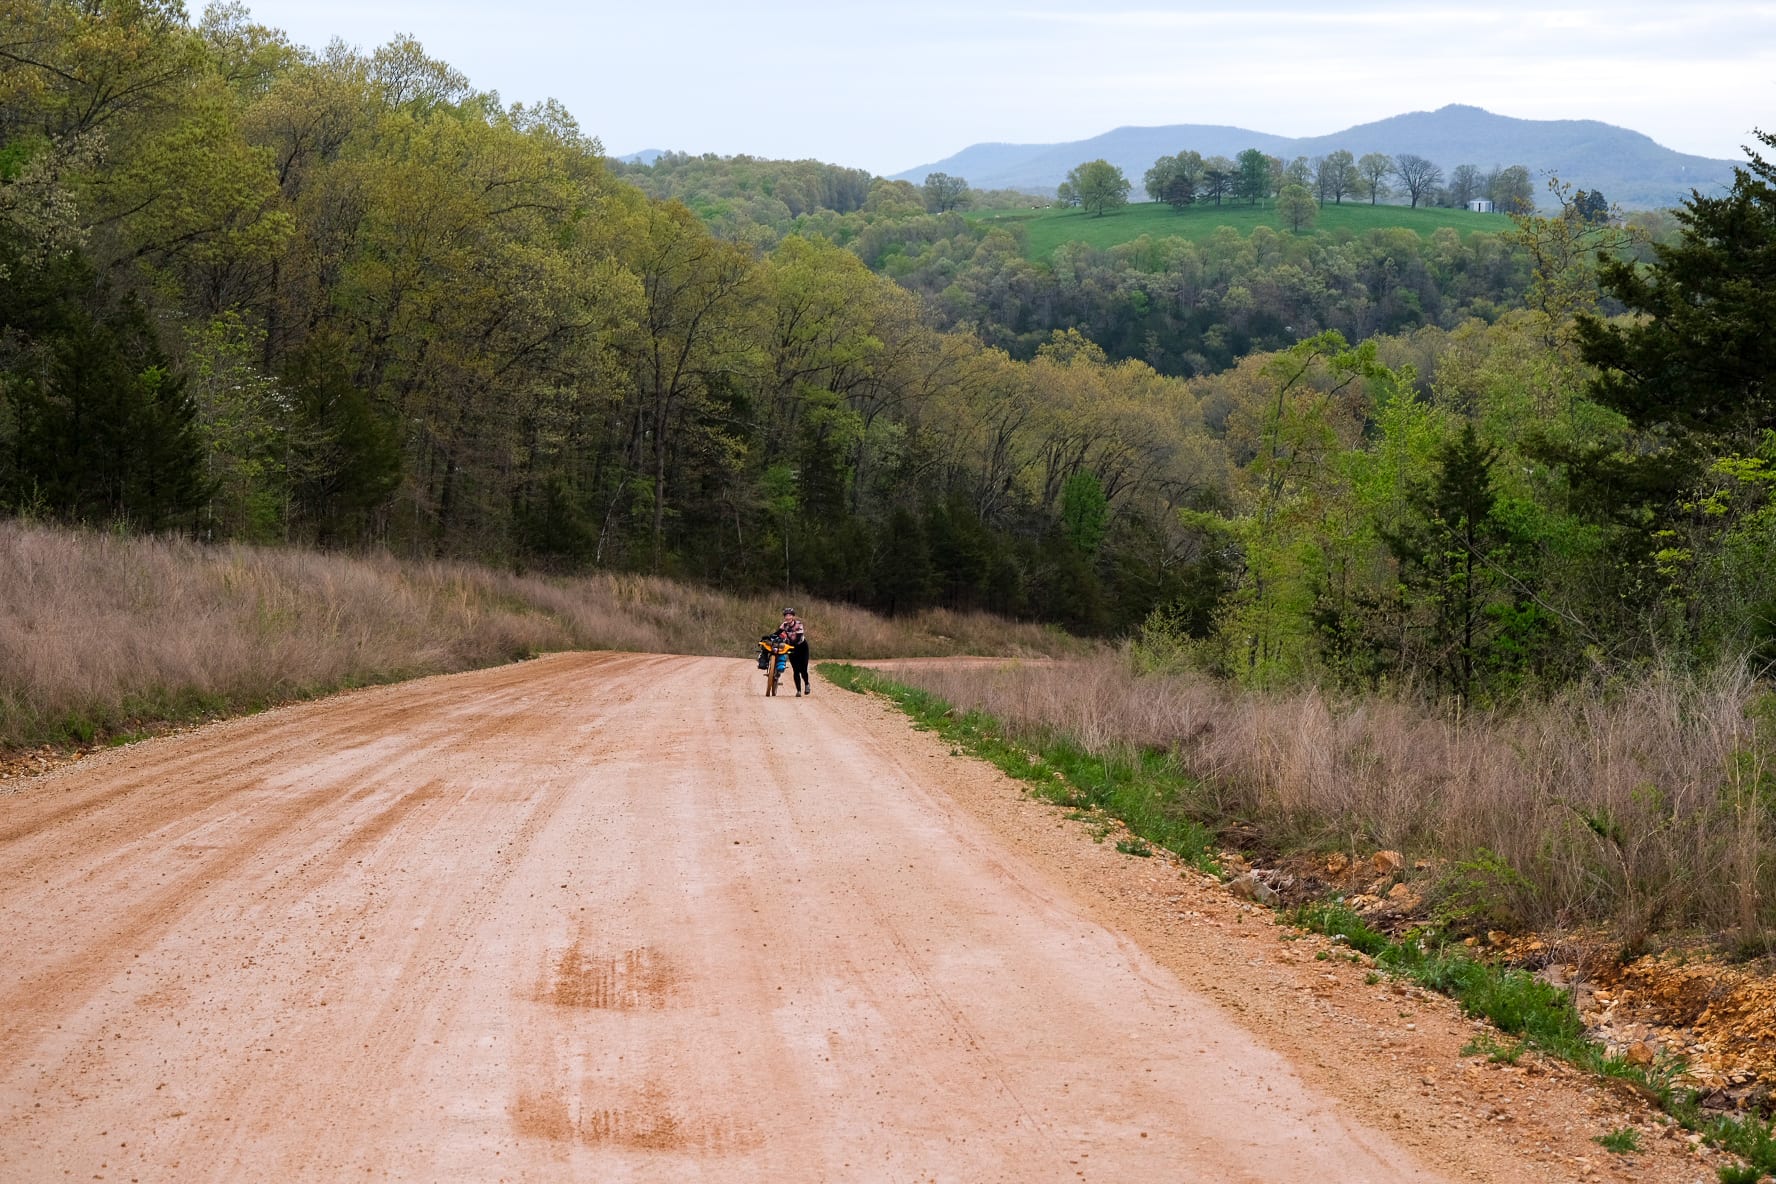
Day 1 – The riding section is defined by a large climb at the beginning as you climb out of the river valley. The first 16 miles is all gravel road through rural Arkansas in the Ozarks and it’s purdy. Bring your gears for this one! Everyone who has ridden AR can tell you that the hills are steep! The pay off is a fast paved descent back down to the river where you’ll find camping.

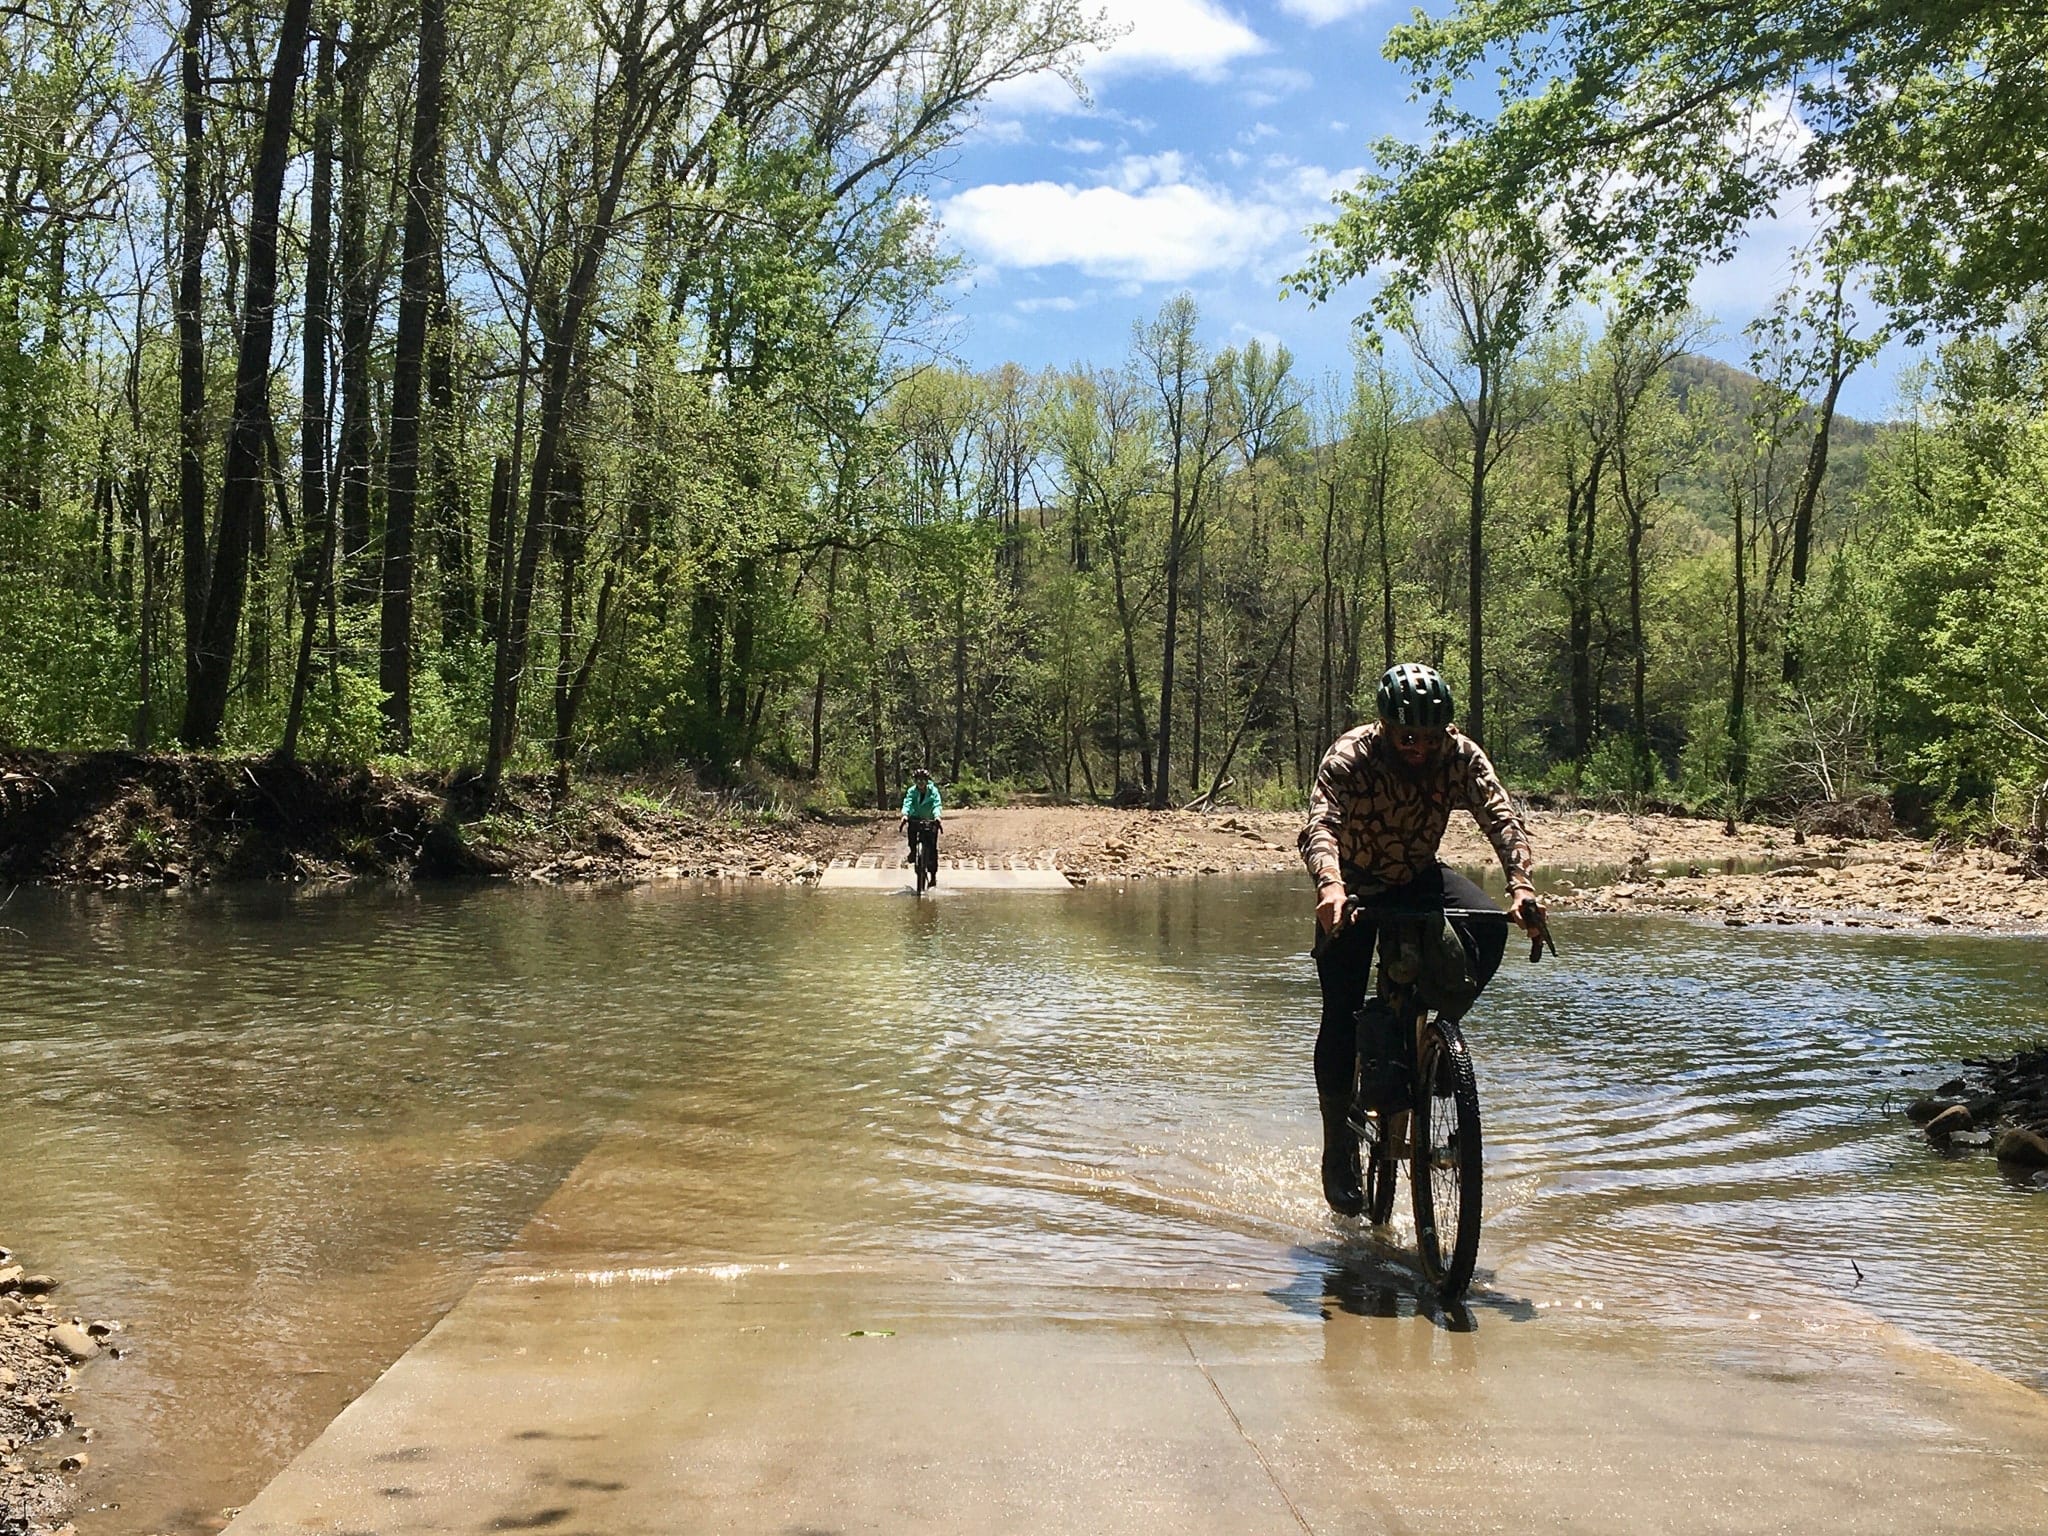
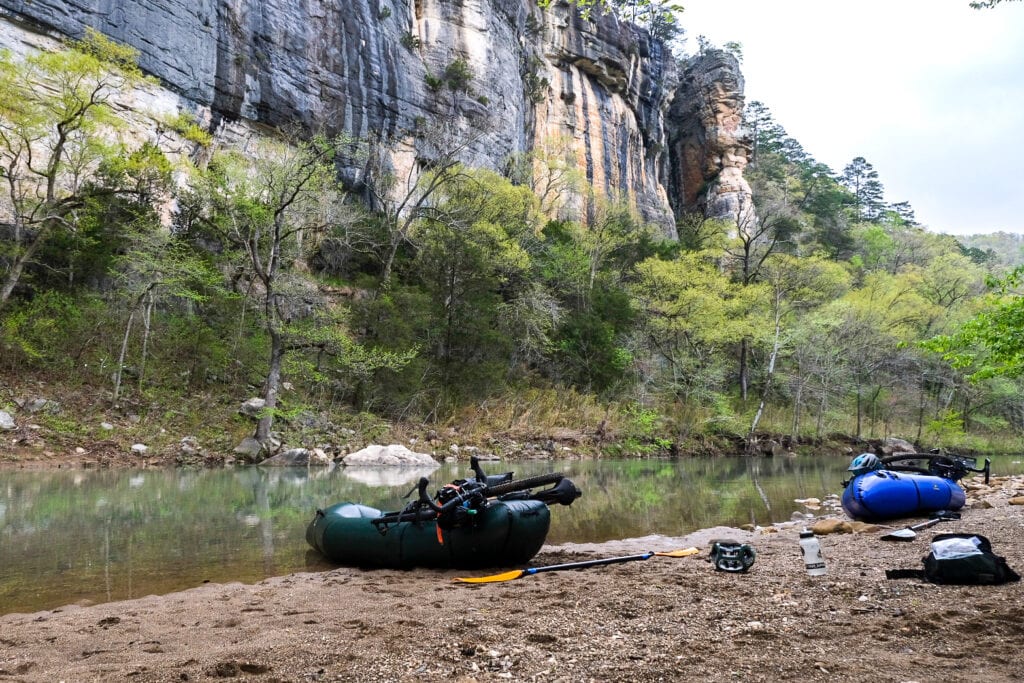
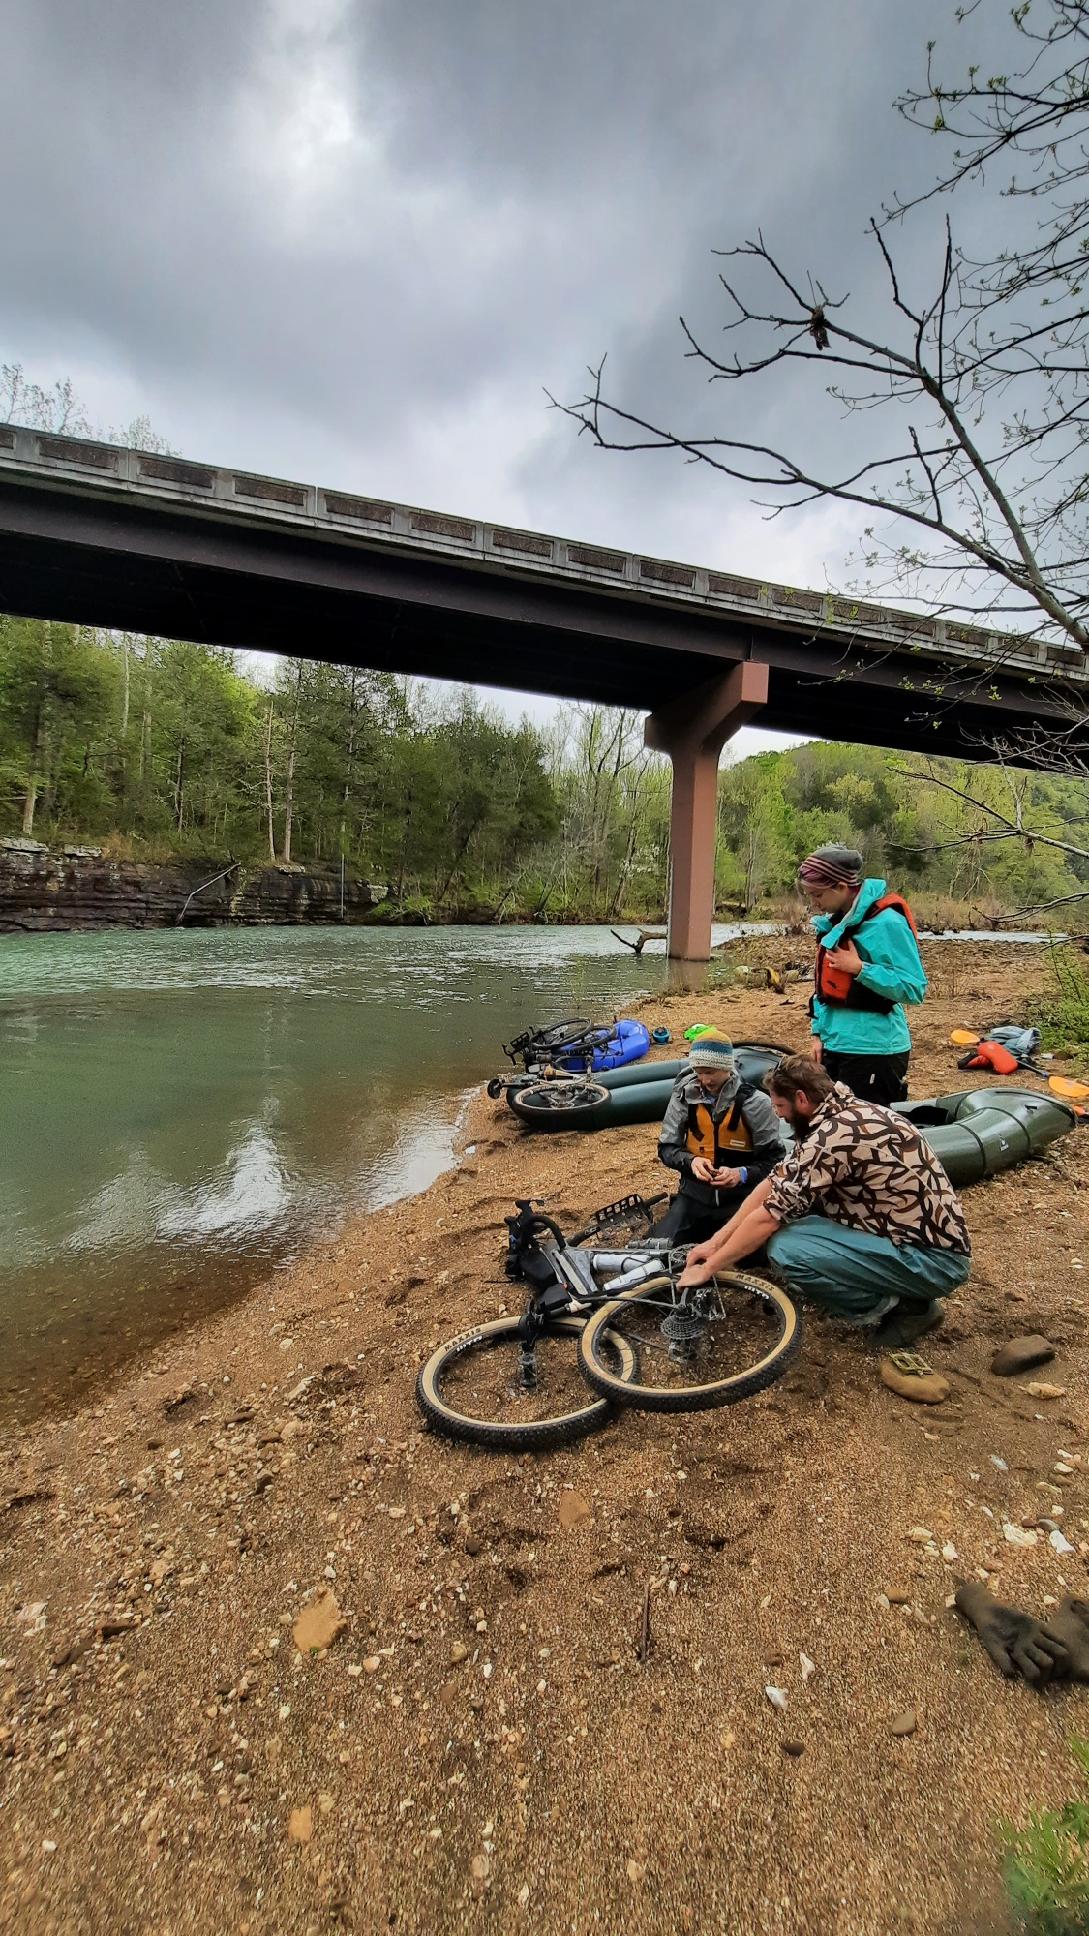
Next up, the River Section – 25 miles back to the van. This section is described as having Class I and II Rapids. When we did it they seemed to be mostly Class I with a possible Class I. The boats handled them all with no problems. No one in our group capsized! The route has several public camping options, but we chose to primitive camp both night and found options to be abundant both for tents and hammocks. On our trip we put out on day 3 and hopped back on our bikes, which left us an 11 mile ride back to our vehicle. Where we put out is noted on the map, so you can choose whether to keep paddling or switch back to peddling. Options!
A full route write up and details will be published on Bikepacking.com soon! Until then, here is the route. I think it’s good, as does everyone who went on the trip. The biggest consideration before doing this route is checking the water levels. Other than that, this is a good route for people looking to get into bikerafting.